

Prerequisites
Before you get started, you need to create a couple accounts:- Sign up for a free 30-day Kameleoon trial account. You’ll need to complete this tutorial within 30 days after requesting the account, but the tutorial should only take about 30 minutes to complete.
- A GitHub account.
Run the sample app
You can run the sample app either in GitHub Pages or on your local machine. Sign in to your GitHub account before you start either path.Deploy to GitHub Pages
Deploying to GitHub Pages means you don’t need to worry about setting up a web server.- In the Bouncing ball repo in GitHub, click Fork. Follow the prompts to create your own fork of the sample app in
github.com/<your_username>/bouncing-ball. (Replace <your_username> throughout this tutorial with your GitHub username.) - In your new
https://github.com/<your_username>/bouncing-ballrepo in GitHub, click the Actions tab and click the button to enable workflows. - In the Settings tab, click Pages, click the Source dropdown, and click GitHub Actions.
- In the Actions tab, click Deploy static content to Pages > Run workflow > Run workflow.
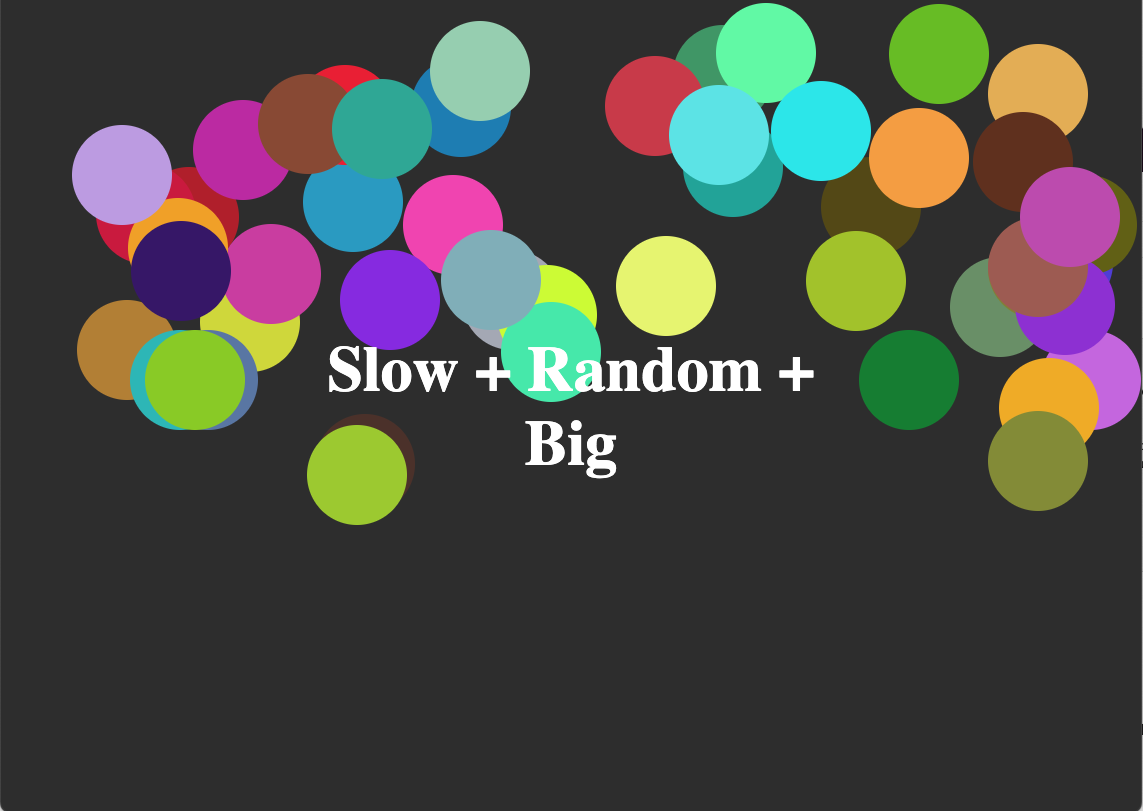
https://<your_username>.github.io/bouncing-ball! It should look something like this:
Run the app locally
You can also run the sample app on your local machine instead of deploying it to GitHub Pages. Working locally makes it easier to see debug output in your browser console as you go through this tutorial.- Clone your fork:
git clone https://github.com/<your_username>/bouncing-ball.git. - Install the dependencies:
npm install. - Start the local development server:
npm run dev. - Open the URL that the terminal prints, for example
http://localhost:5173.
https://<your_username>.github.io/bouncing-ball for the rest of this tutorial, including as the site’s URL when you create your Kameleoon project.
Reduce the configuration polling interval
To make project changes faster, the update interval at which the SDK checks for configuration changes in the Kameleoon account can be programmatically adjusted:-
In your GitHub repo, in the Code tab, open the
src/main.tsfile. - Click the Edit this file button (with the pencil icon).
-
Find and edit the
/src/main.tsfile. Find the following line:Replace the line with the following code:The new code adds a configuration with adataFileRefreshIntervalof 1. This value reduces the frequency with which the SDK polls for changes in the configuration to once every minute (from the default of 60 minutes). Avoid this frequent polling in a production environment due to the performance impact, but it’s helpful for the tutorial. Kameleoon also offers a premium streaming option that pushes configuration changes to the SDK immediately. - Click Commit changes….
Set up a Kameleoon project
You’ll need your Kameleoon trial account credentials before you start this section.- Sign in to the Kameleoon app using your trial account credentials.
- In the left menu, expand Admin and click Projects > New project.
-
In the dialog, click Site: Feature flags in the first dropdown, and paste
https://<your_username>.github.io/bouncing-ball(or your local URL, if you’re running the app locally) as the URL of site. Remember to replace<your_username>with your GitHub username. Click Add. -
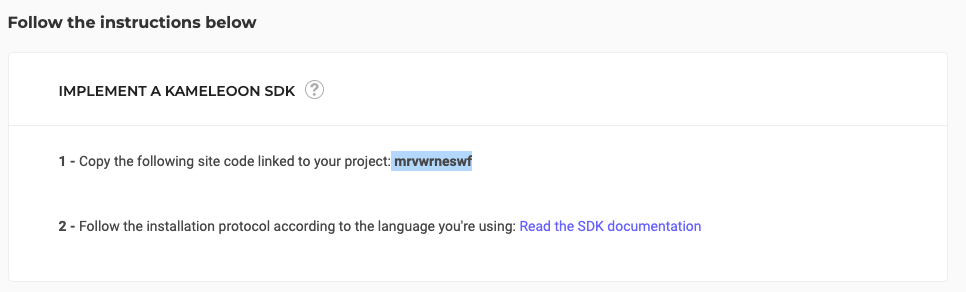
Copy the site code that’s shown on the next page.
-
In your GitHub repo, in the Code tab, edit the
src/constantsfile. Replace thesiteCodevalue with the site code you just copied and click Commit changes.
https://<your_username>.github.io/bouncing-ball, or your local URL), you should see that all the bouncing circles have disappeared. That’s because a Kameleoon feature flag in a different project added the circles. You just changed the site code so the site is now controlled by your Kameleoon project, which you haven’t fully configured yet. Don’t worry, you’ll add your own circles back to the app with your own feature flags.
Troubleshooting: if you still see the Slow + Random + Big text and bouncing circles, try opening the page in an Incognito (or Privacy mode) window.
Set up feature flags
Feature flags allow you to roll out new features to a limited audience and test their effectiveness before a full rollout. Developers or other team members can manage this configuration. Understanding how you configure feature flags in the Kameleoon interface helps you use variables effectively within the app.- In the Kameleoon app, in the Activate menu, click Feature flags.
- Click New feature flag.
-
Complete the fields with the following values:
- Name:
Bouncing ball demo - Project: {Select your project from the dropdown}
- Flag type: Permanent
- Feature key:
bouncing_ball_demoYou can leave the tags and description field empty.
- Name:
- Click Validate.
Set up variables
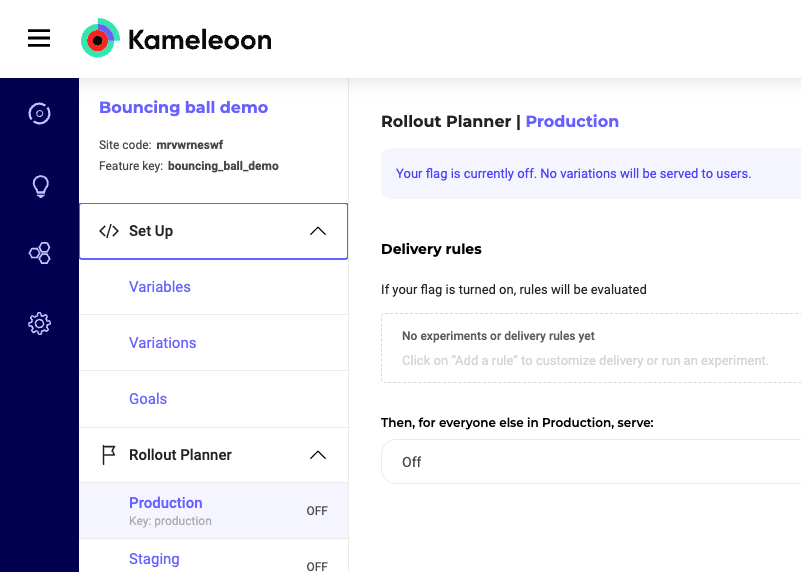
Variables are strings, numbers, boolean, or JSON values that you use in your app code to modify the app’s behavior. Their values change depending on which variation Kameleoon assigns the visitor to. For example, to determine whether visitors stay on a site longer when served a “Party time” variation versus a “Hypnotize” variation, set up a variation for each option and run an experiment.- On the new page that appears, expand the Set Up menu and click Variables.
-
Use the + Add Variable button to add 6 variables with the following values:
- Click Save.
Set up variations
Variations define the possible combinations of variables that control what appears in your app for each visitor. Kameleoon assigns each visitor a variation on their first visit to the app.- In Set Up, click Variations.
-
Use the + Add variation button to add two new variations:
-
Name:
Party time- ball_size:
50 - ball_color:
random - ball_speed:
75 - balls_amount:
75 - randomize_on_bounce:
True - title_text:
Hey! Get up and dance!
- ball_size:
-
Name:
Hypnotize- ball_size:
200 - ball_color:
blue - ball_speed:
2 - balls_amount:
10 - randomize_on_bounce:
False - title_text:
You're getting very, very sleepy
- ball_size:
-
Name:
Set up a goal
Next, you’ll set up a goal. Goals define how you want to measure the effectiveness of your variations. There are a number of different types of customizable goal types you can use, but this tutorial uses a basic “time spent” metric.- In the Set Up menu, click Goals > + Add goal.
-
In the Configure goals section, click + Create a new goal and complete the following fields:
- Name: Time spent
- Type: Time Spent
- Project: {Select your project}
- Click Next and set the goal to: The visitor spent more than 30 seconds.
- Click Validate.
Roll out an experiment
Now that you’ve configured your variations, you can create an experiment that displays the two variations to a subset of your audience. You’ll display one variation to 40% of your visitors and the other variation to a separate 40% of visitors. The remaining 20% of visitors will see an unmodified version of the app (the default).- In the Rollout Planner section, click Production.
- Click + Add a rule > Experiment.
- Reduce the Exposure slider to 80%.
- Under Variations to serve, click Party time and change the Exposition value to 40.00%.
- Click + Add a variation. Kameleoon should select the variation Hypnotize automatically (if not, select it yourself). Change the Exposition value to 40.00%.
- Turn the ON/OFF toggle to ON.
- Click Save.
Test the app
Now you’ll test the feature flag you configured, using the SDK’s debug output, a few browser techniques, and the Kameleoon app’s live events to confirm everything works.Enable debug logging
Debug-level logs show every internal decision the SDK makes, which helps you understand why a variation wasn’t served or why an event didn’t track. Enable debug logging before you open the app for the first time, so you have full visibility from your very first visit.-
In
src/main.ts, change the SDK import soKameleoonLoggerandLogLevelcome from the full bundle instead of the default one: -
Right after you create the client, set the log level:
- Commit your changes (or save the file, if you’re running the app locally).
- Open your browser’s DevTools console before you load the app. You’ll see detailed logs for configuration loading, visitor code assignment, and variation calculation.
View your variation
Open the app in a browser, using either your GitHub Pages URL or your local URL. You should see one of the three possible variations: the Party time variation, the Hypnotize variation, or the Default variation.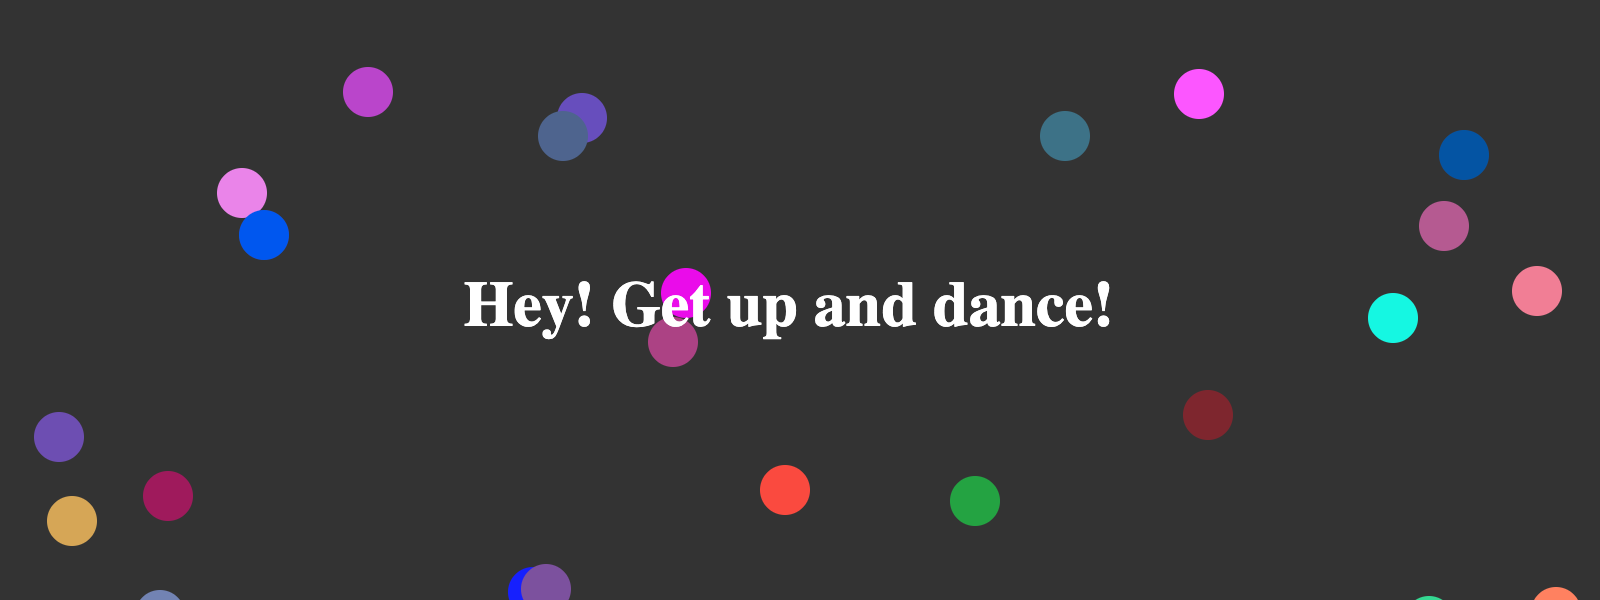 Party time variation
 Hypnotize variation
 Default variation
See a different variation
Because your browser saves avisitorCode, which is a unique ID that identifies you, refreshing the page always serves the variation you were first assigned to. To look like a new visitor, use one of the following methods:
- Switch to a different browser or device.
- Open the app in a new private window each time (depending on your chosen browser, you might see this called “Incognito,” “Private Browsing,” or something similar).
- Use the Rollout Planner’s simulation panel to select a specific variation without generating a new visitor code. See Using simulation mode for setup steps, including the Chrome extension required for projects that only use Feature Experimentation.
Verify tracking with live events
A variation appearing in your browser doesn’t confirm that Kameleoon tracked the visit. Check Live events in the Kameleoon app to verify that Kameleoon received the event.- In the Kameleoon app, go to Insights > Live events.
- Select your project.
- Filter by the Experiment event type.
- Look for a row with a recent timestamp and your feature flag’s name.
Troubleshoot common issues
- The same variation appears every time. Your browser already stored a
visitorCodein a cookie. Use a private window, switch browsers, or use the simulation panel to preview a different variation without resetting your visitor code. - No variation appears, or you always see the Default variation. Check that the rule’s ON/OFF toggle in the Rollout Planner shows ON and that the rule’s status shows Active.
- The app still shows an old configuration after you change a rule. The SDK polls for configuration updates at a set interval, 60 minutes by default. Confirm you set a shorter
dataFileRefreshIntervalvalue in your configuration and committed the change, then wait at least the length of that interval before you test again. - Debug logs don’t appear in the console. Confirm your import statement uses
@kameleoon/javascript-sdk/fullinstead of@kameleoon/javascript-sdk. The default bundle strips debug and info logs to reduce its size. - A variation appears, but no event shows up in Live events. The simulation panel previews a variation without sending a trackable event, so it never appears in Live events. Visit the app normally, without the simulation panel, to generate an event you can verify.
Next steps
- In the Reporting section of your experiment, look through some of the initial results, available integrations, and activity log. You won’t have access to a lot of results data yet, due to low traffic.
- Look through the sample code to understand how the code applies the variables. If you’re comfortable writing TypeScript, try adding your own variable.
- Look through the rest of this developer documentation and the Experimentation User Guide to learn more about all of the available options and features.
- Install the SDK of your choice and start building your own feature flags, personalizations, and other experiments.