

Key benefits
- Gain access to cohort data to personalize visitors’ web experience and enhance the performance of campaigns by using Kameleoon.
- Focus on your segments’ most relevant behavioral characteristics and quickly find insights to advance your testing roadmap.
Setup
Prerequisites
To configure this integration, you need the following information from Kameleoon:- Client ID
- Client-Secret
- Project ID
Activate the integration in imagino
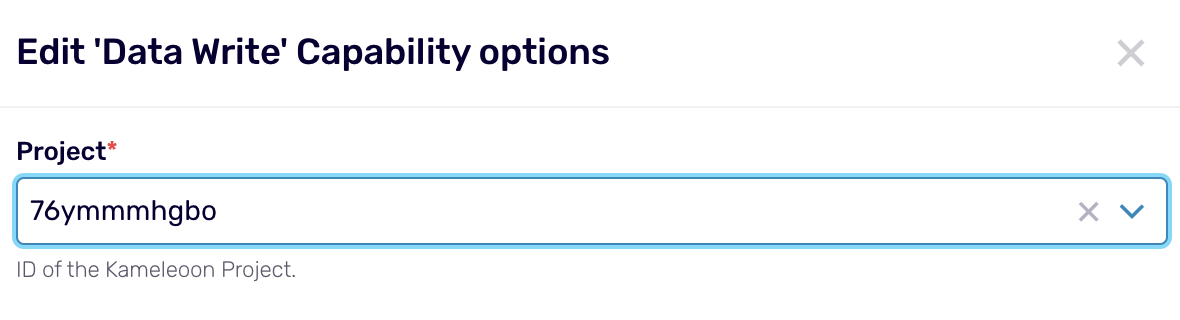
1. Set up the connection
- Set up a connection with the customer’s Kameleoon instance.

- Select the project to which the data will be pushed.
- Define the JSON structure of the data to be pushed.
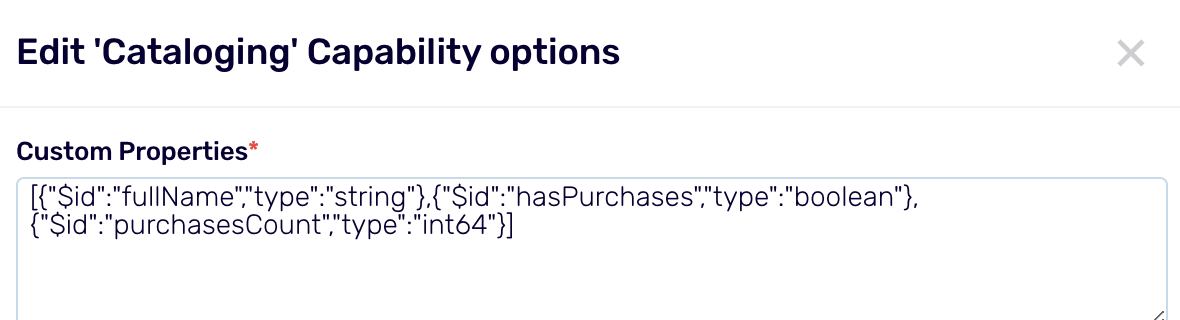
2. Define the data structure you want to send to Kameleoon
This structure is then made available in the imagino Data Catalog.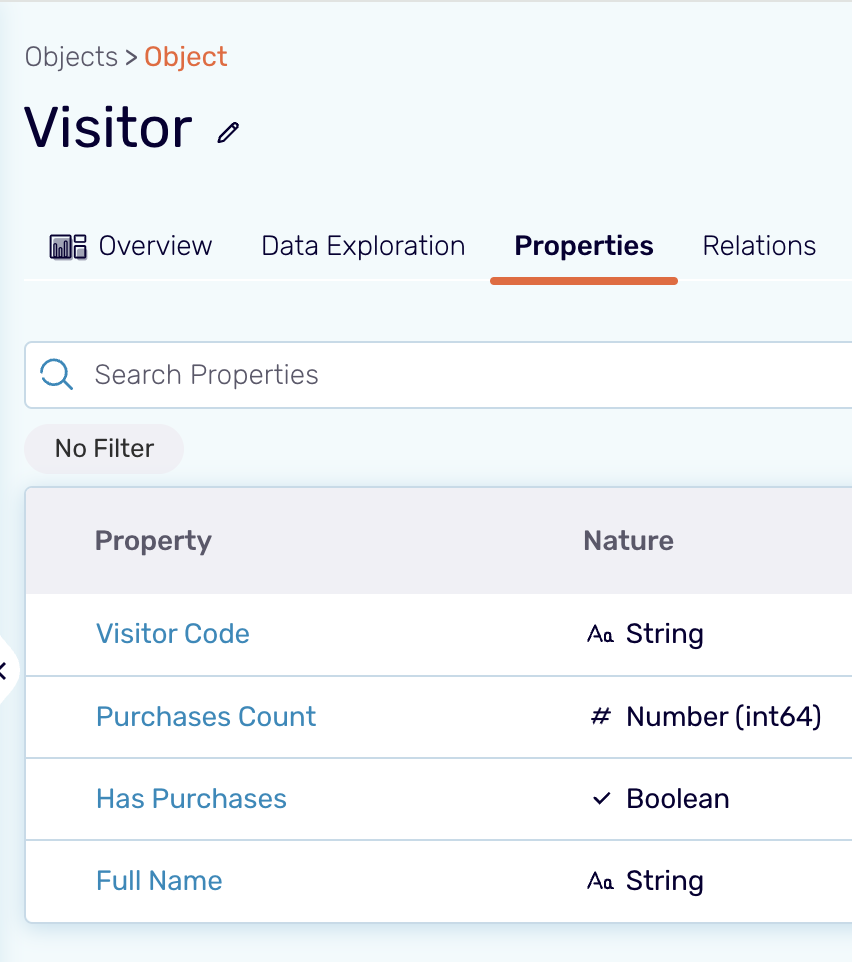
3. Set up data mapping from imagino to Kameleoon
- Activate the imagino audience data that will be pushed to Kameleoon.
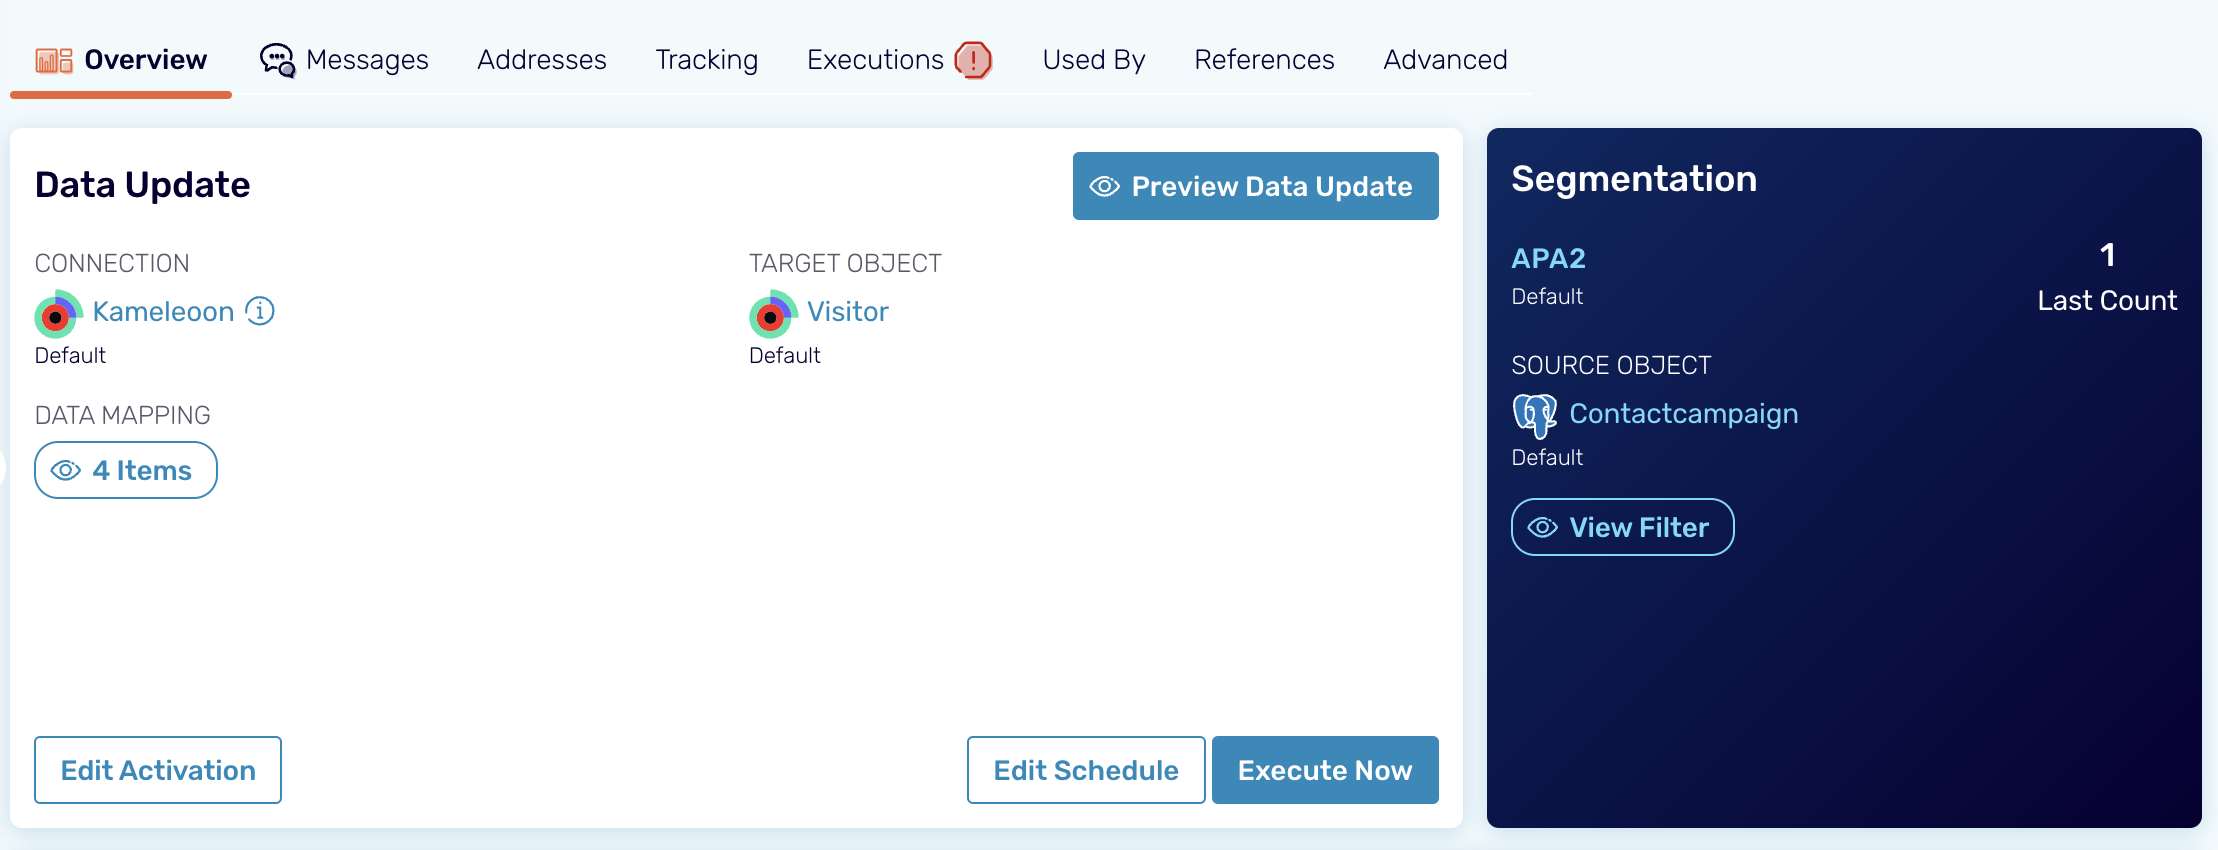
- Edit the audience data mapping to define the fields from imagino, and the fields expected in Kameleoon (previously configured structure).


4. Check that imagino data is sent to Kameleoon
Using the Kameleoon Data API, you can check that Imagino audience data are available. Here is an example for a given project and visitor ID:
Retrieve imagino data in Kameleoon
How does it work in Kameleoon?
Kameleoon receives user cohorts from imagino, enriches visitor data via the Data API, and uses this data within Custom Data.- imagino identifies and group user cohorts.
- Kameleoon receives cohort data via integration.
- Kameleoon uses Data API to enrich the visitor data.
- Enriched data can be used as Custom Data in Kameleoon.
Custom data
You must create and set up a Kameleoon custom data.
- Name your custom data.
- Select Custom JavaScript code as the retrieval method.
- Choose the type List and format String.
- Choose the scope Page.
- Save the values associated with the custom data.
For more information, refer to this article.
Segment builder
- Click Settings > Segments > New segment.
- Enter the required information and click Continue.
- Select the custom data under the Custom data dropdown.
- Click Create.