

Prerequisites
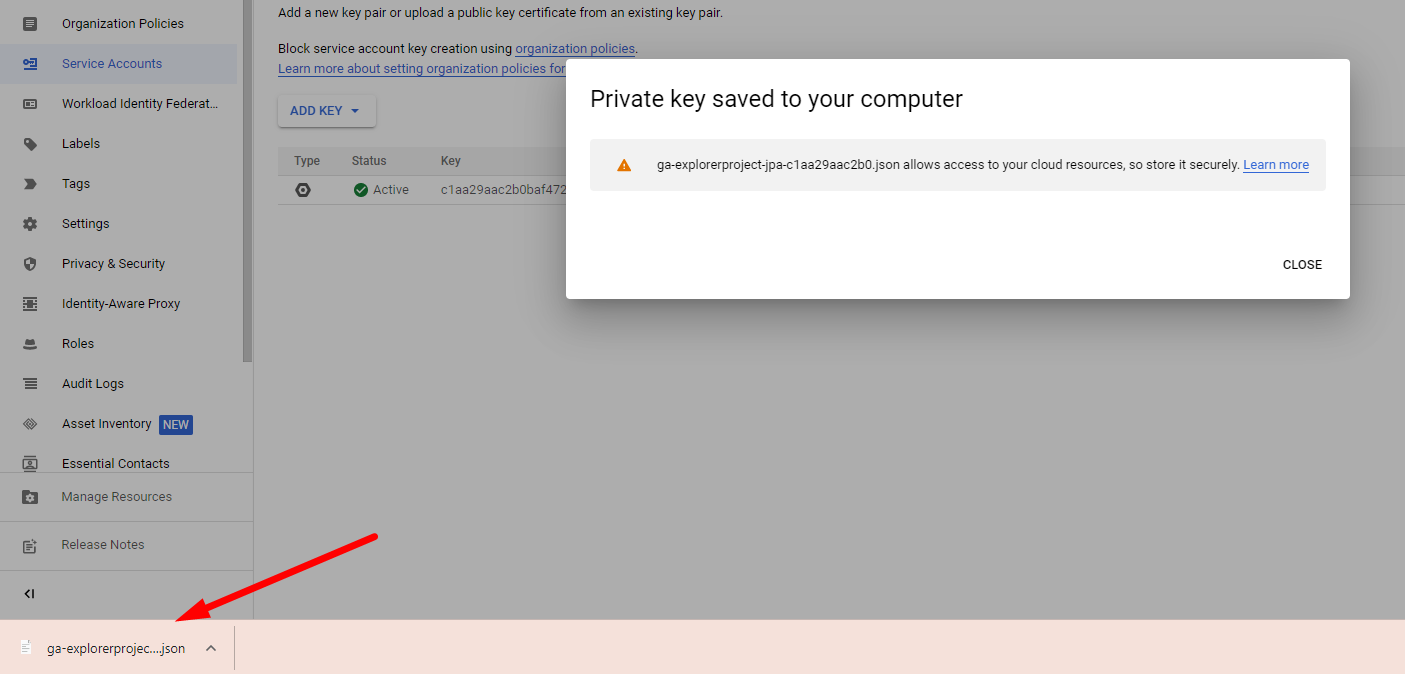
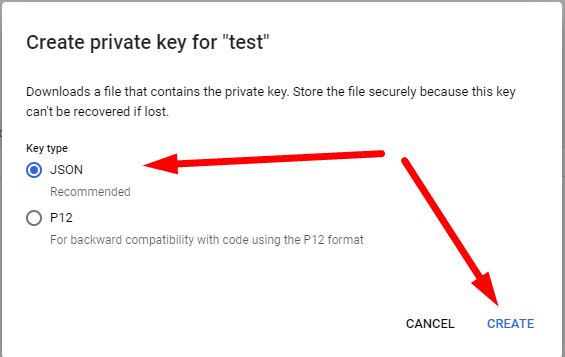
For this integration to work, you must send the following information to your Customer Success Manager, as it is required to set up the bridge in your Kameleoon account:- The credentials of a service account in a JSON format. Please use a compression tool to secure this file with a password then send the package separately from its password.
- Your project’s property ID.
- You Kameleoon project’s sitecode.
Step 1: Set up the authentication through a service level account
To grant a technical user account access to a Google Analytics account and privileges to retrieve data through the available APIs, the following are required:- An email account with admin access to Google Analytics that will be used to generate a project and service account.
- Access to all required Audiences (in GA4) for this account.
Create a project in google Cloud Console
You must create a new project in Google Cloud console to activate APIs and create tokens. Go to this URL. Log in an admin email account and create a new project.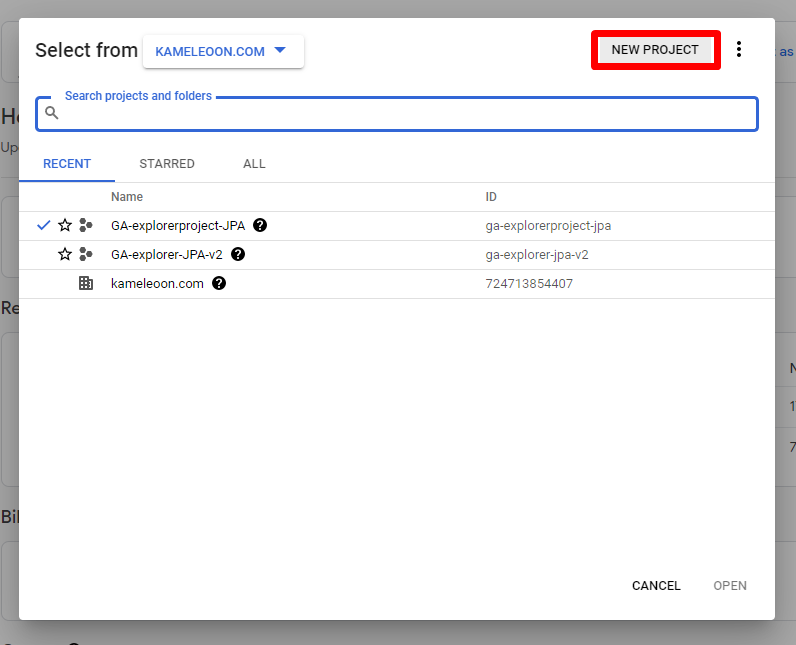
Activate appropriate APIs
To use any API with a particular email address, it must be activated in Google Cloud Console. First, click Library.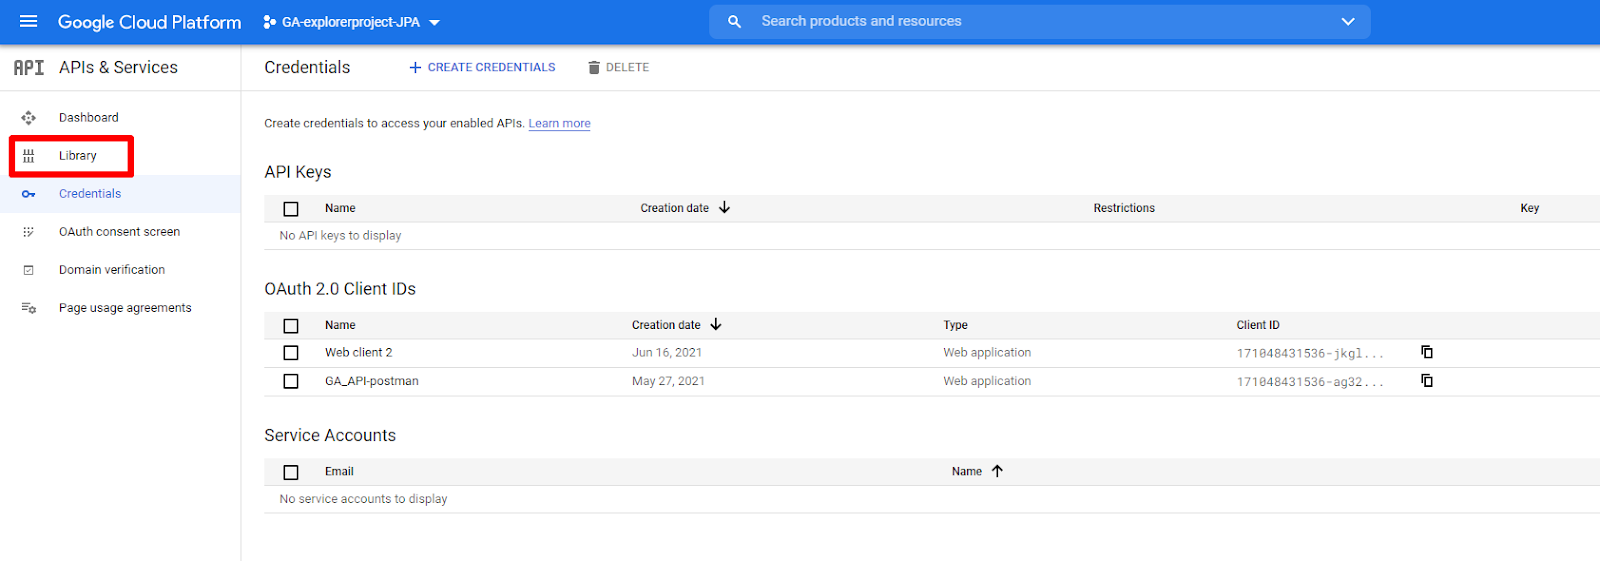
- Google Analytics Reporting API
- Google Analytics Data API
- Google Analytics API
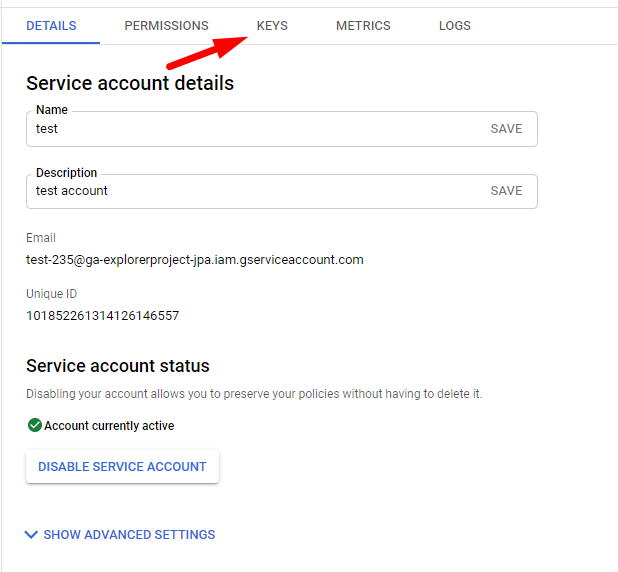
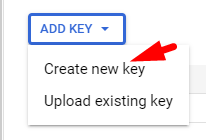
Create service level account
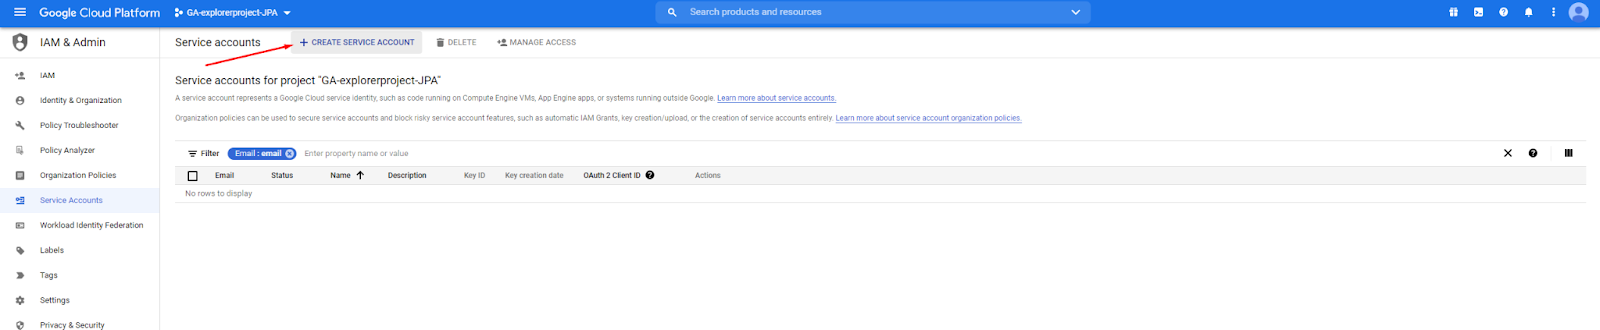
To fully automate GA4 reporting API requests, you must create a service level account that will bypass the need for an authentication callback. To create this account, click IAM & Admin > Service accounts.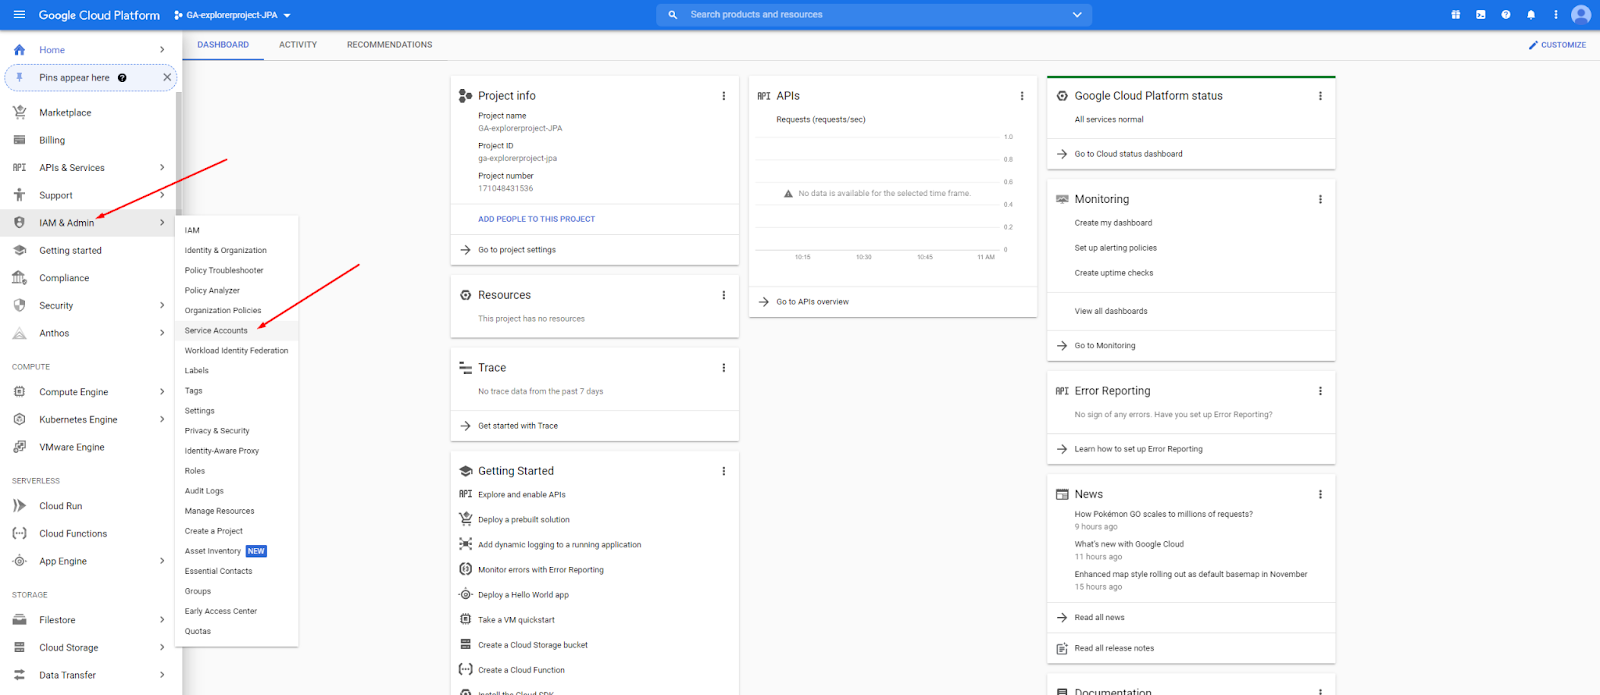
Grant Service Account Viewer permissions for your Property
To access the Property Access Management page in Google Analytics 4:- Sign in to your GA4 account.
- Select the specific GA4 property you want to manage.
- Access the Admin settings.
- Look for the Property User Management or Property Access Management option.
- Click + > Add user.
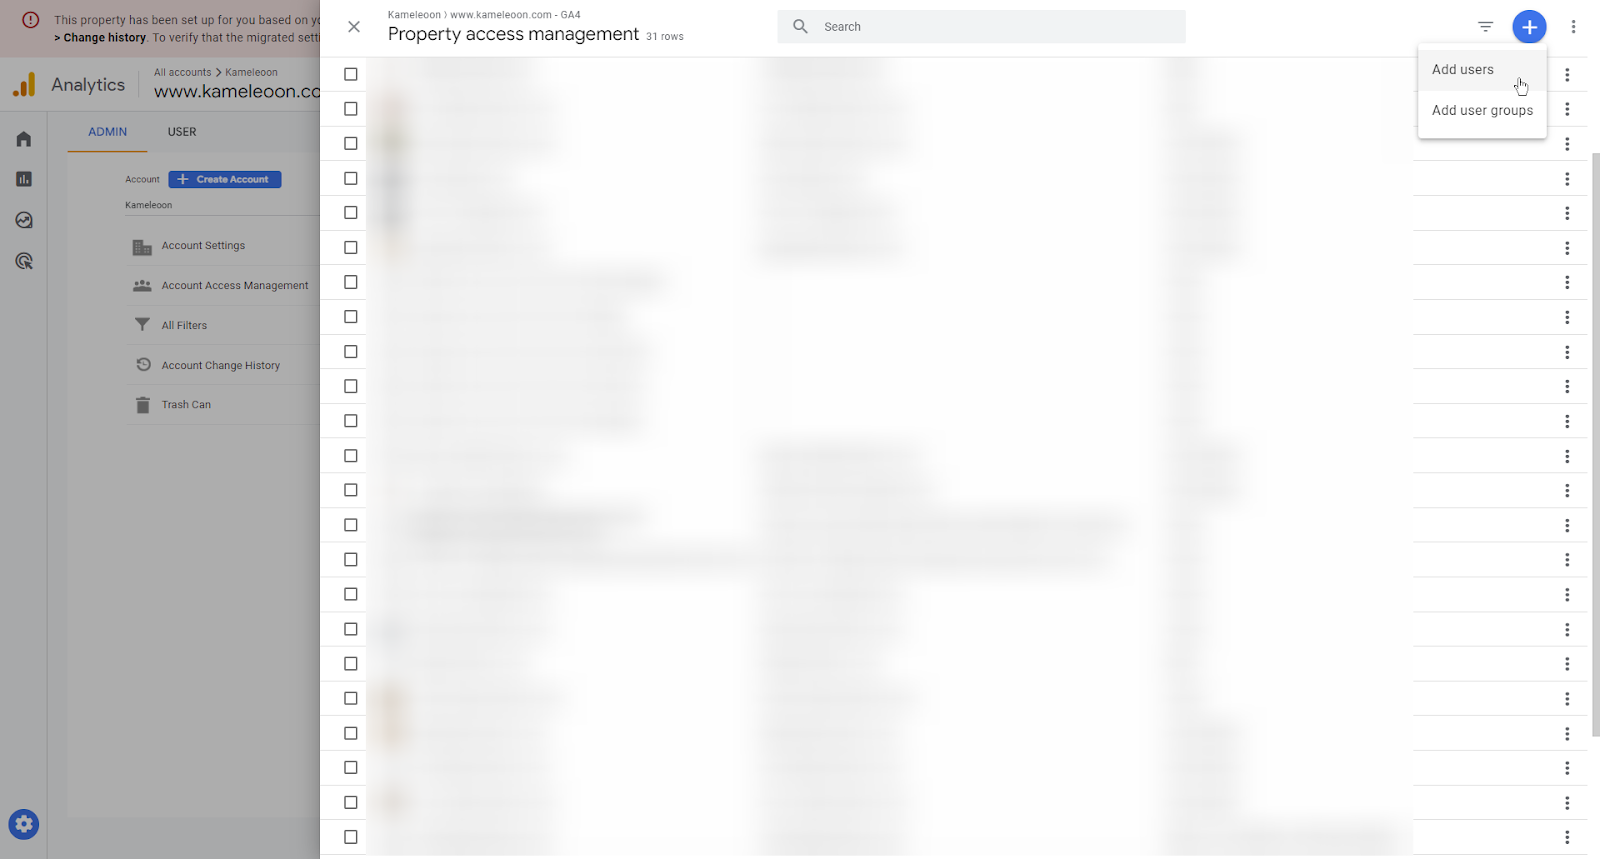
- In the Email addresses field, enter the email address associated with the Service Account that requires access.
- In the Standard roles section, select Viewer.
- Click Add.
Step 2: Push Kameleoon visitorcodes in a GA4 custom dimension
Next, you must configure the bridge to send each visitor’s KameleoonvisitorCode to GA4 via a custom dimension.
Using gtag.js
1. Push the visitorCode to GA4
The following code should be added in the Kameleoon global custom script section:2. Create the custom dimension in GA4
You must create a custom dimension that will be used to receive the KameleoonvisitorCode for each visitor. Set the dimension scope to User, name it Kameleoon Visitor Code, and enter kameleoon_visitor_code as the User property.
Using Google Tag Manager
1. Push the visitorCode in the dataLayer
The following code must be added in the Kameleoon global custom script section.2. Add the GTM variable
First, you must create a variable in GTM for the KameleoonvisitorCode. Go to Variables and create a new Data Layer Variable.
- Name:
kameleoon_visitor_code - Variable configuration:
- Type: Data Layer Variable
- Data Layer Variable Name: Kameleoon Visitor Code

3. Create a tag in GTM
Next, you must create a tag and push this data into GA4.1. Create a variable
- Go to GTM: Open Google Tag Manager and navigate to your container.
- Navigate to Variables: In the left-hand menu, click Variables.
- Create a new variable: Under User-Defined Variables, click New.
- Select variable type: Click Variable Configuration and choose Data Layer Variable.
- Configure the variable:
- Name:
kameleoon_visitor_code - Variable type: Data Layer Variable
- Data Layer Variable Name: Kameleoon Visitor Code
- Name:
- Save the variable.
2. Create a trigger
- Navigate to Triggers: In the left-hand menu, click Triggers.
- Create a new trigger: Click New.
- Select trigger type: Click Trigger Configuration and choose Custom Event.
- Configure the trigger:
- Trigger name: Give your trigger a descriptive name (for example, “Page Type is Product”).
- Event name: Enter the event’s name you want to base the trigger on, or leave it empty if you want the trigger to activate on any event.
- This trigger fires on: Choose Some Custom Events.
- Conditions: Set the condition for your
dataLayervariable.
/^[a-z0-9]{16}$/
- Save the trigger: Click Save.
3. Attach the trigger to a tag
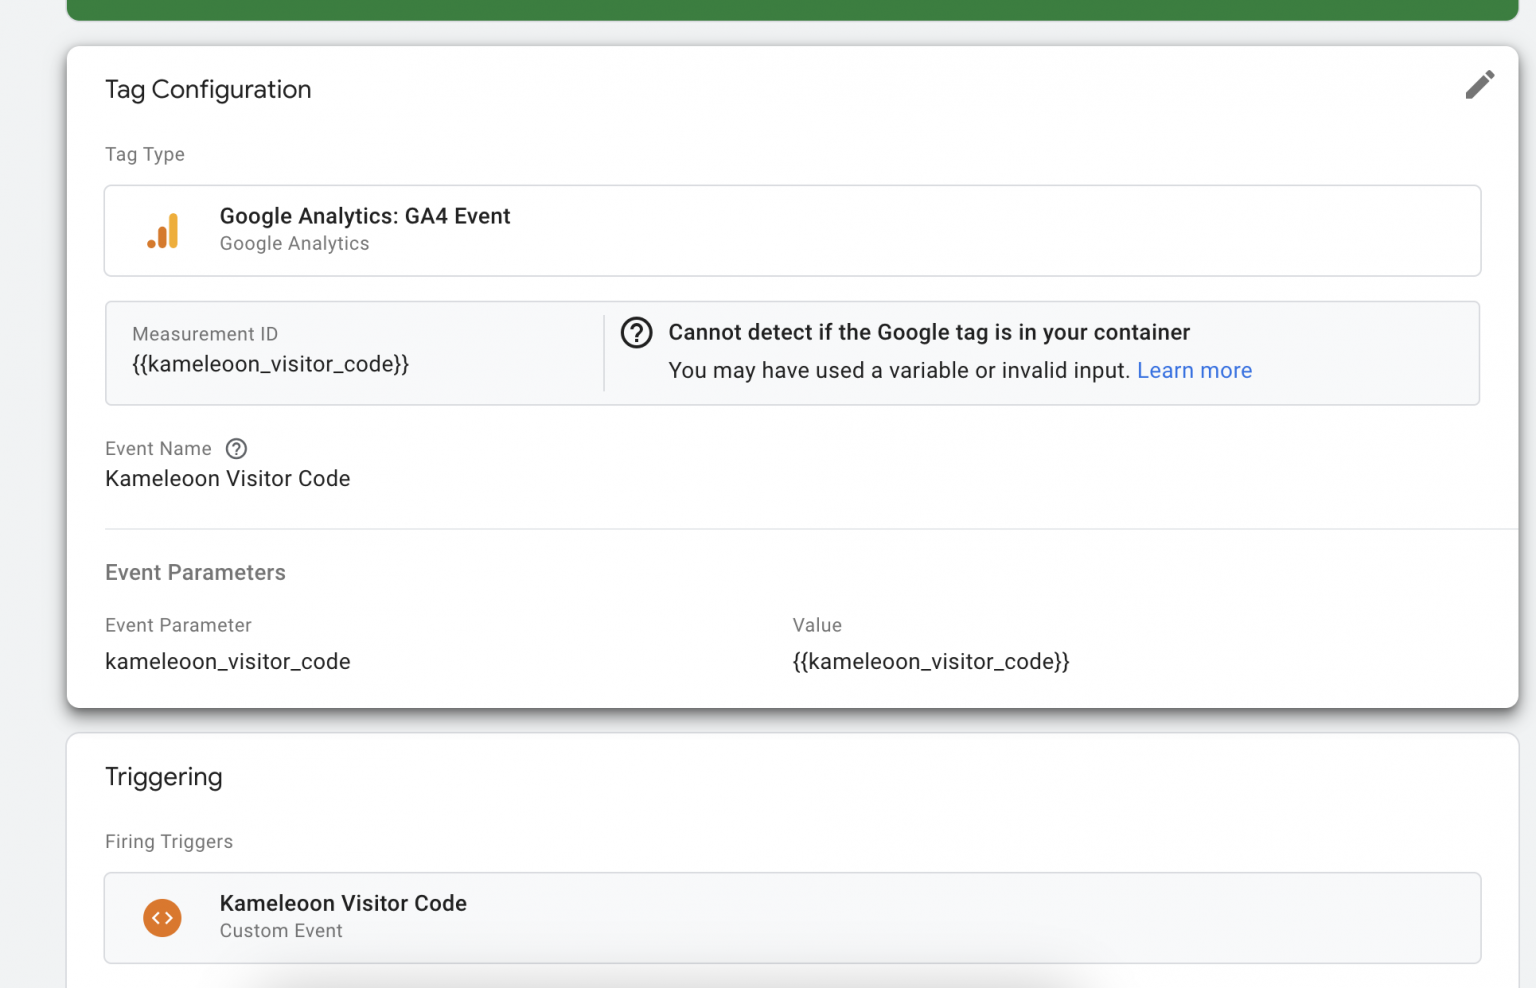
- Navigate to Tags: In the left-hand menu, click Tags.
- Create or edit a tag: Either create a tag or edit an existing one.
- Attach the trigger:
- In the tag configuration, scroll to the Triggering section.
- Click Triggering and select the trigger you created.
- Save the tag: Click Save.
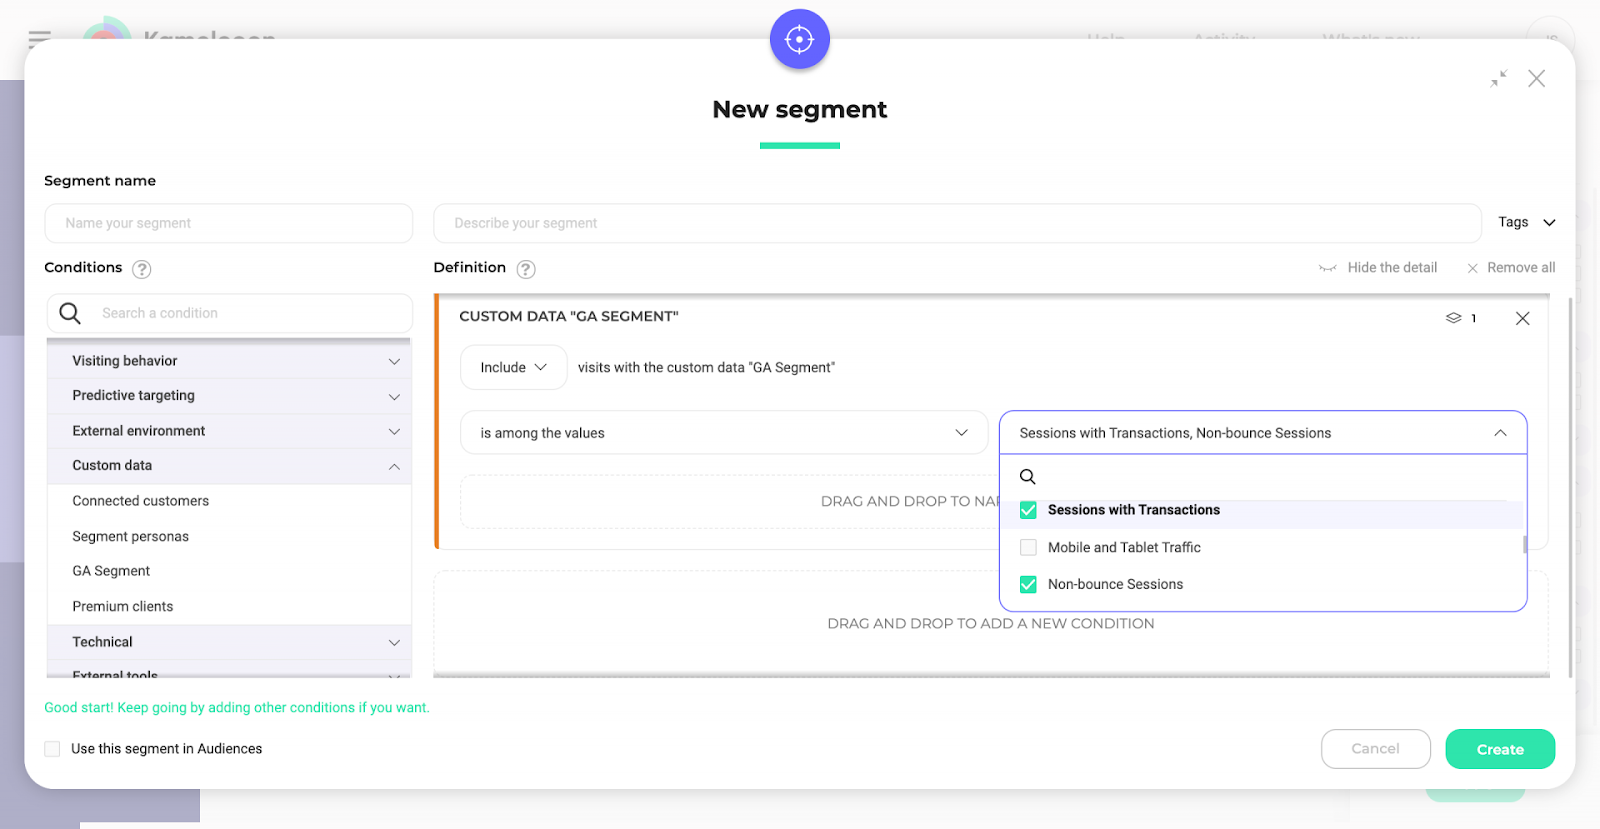
Step 3: Create a Custom data to use your GA4 audiences in Kameleoon
To use your GA4 audiences in Kameleoon, you must set up custom data in Kameleoon. Name your custom data GA4 Audiences and choose the Custom JavaScript code acquisition method. The custom data should be set to the list of and strings types, and the scope can be set to visit or page (when set to page, it is re-evaluated on every page load).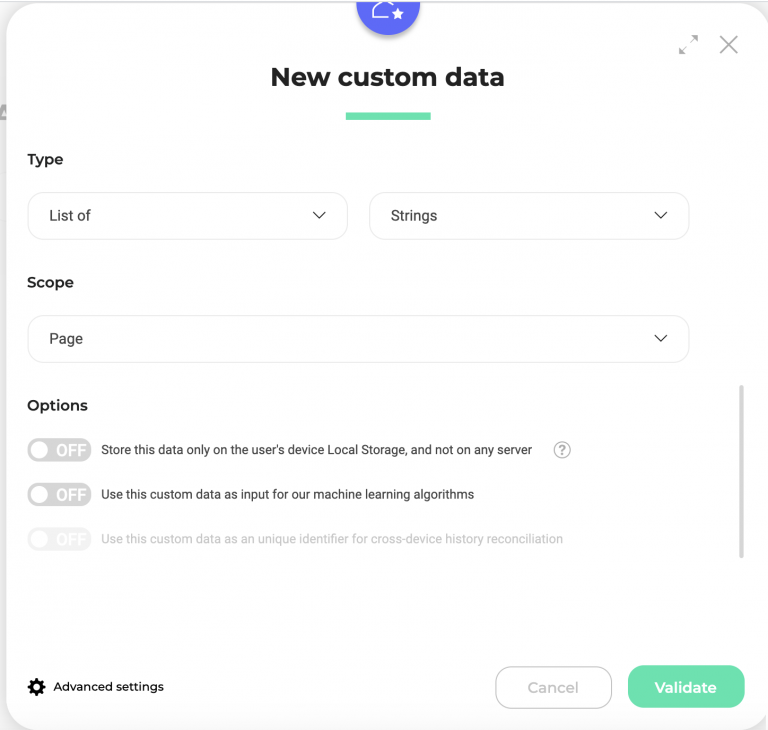
[SITECODE] with the Kameleoon sitecode. To find your sitecode, refer to this article.
Also, ensure you replace [WEB_PROPERTY] with the right GA4 property ID.
External segment sync for server-side
If you would like to use GA4 audiences with one of Kameleoon’s SDKs, you must follow the guidelines in each SDK’s documentation and use thegetRemoteData() method.