

Kameleoon UI
To create a connection with your Snowflake warehouse, you must first fill in the following fields: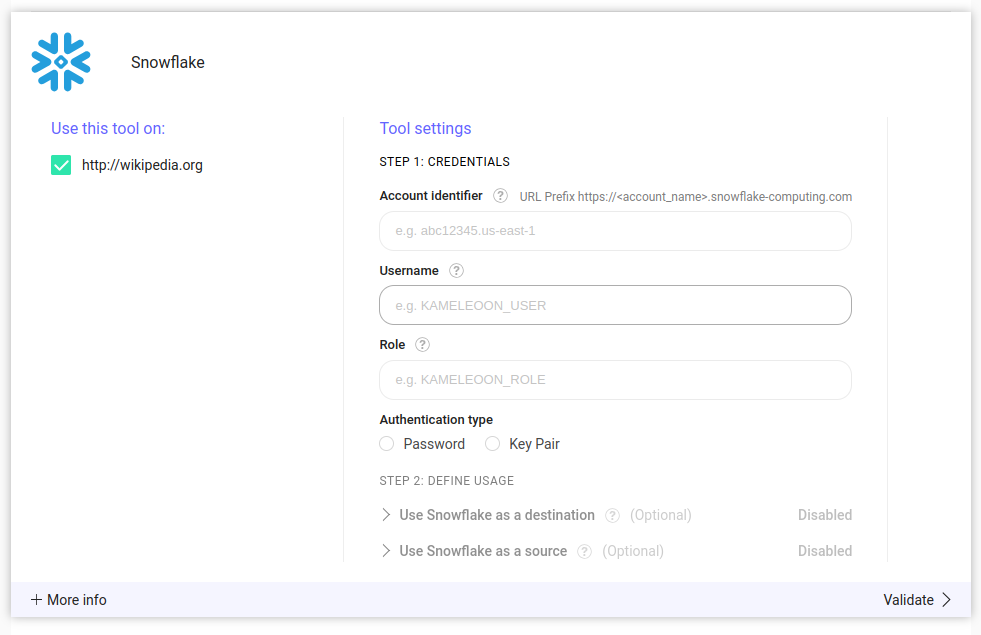
Snowflake identifier
The Snowflake identifier is the account identifier described in the Snowflake documentation. Kameleoon’s backend inserts this identifier into the full URL that connects to your account:https://account_identifier.snowflake-computing.com
Only enter the substring account_identifier, not the full URL.
Create a Snowflake user
Password authentication
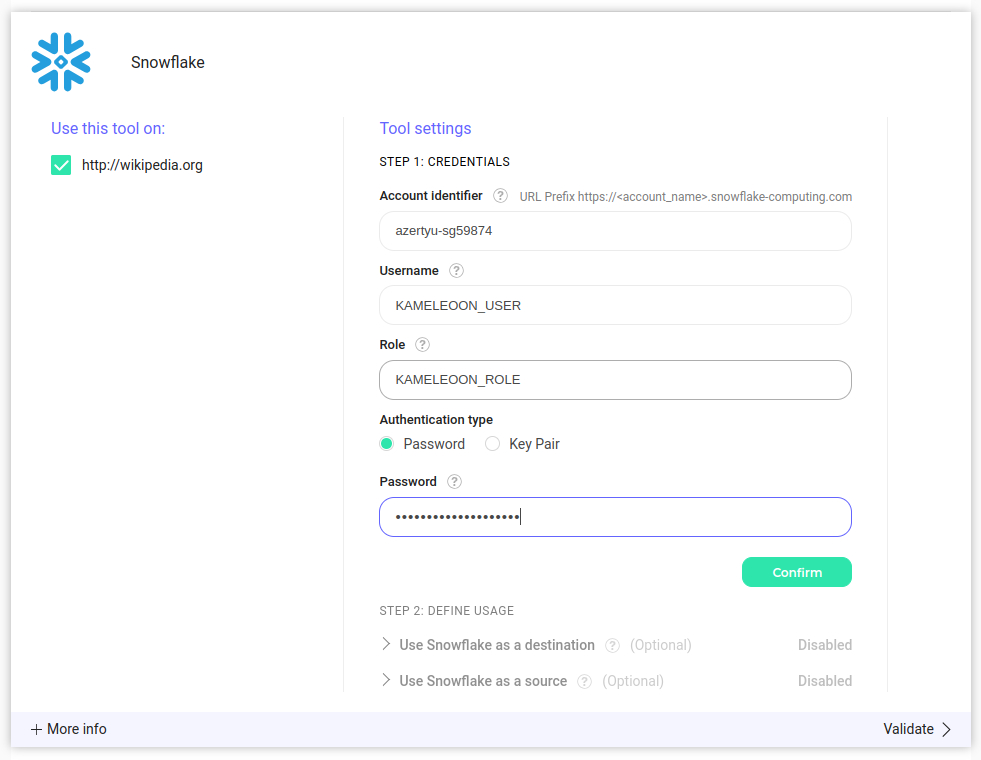
The Snowflake integration supports two authentication methods. The first is password authentication. To use it, run this command in a Snowflake worksheet to create a user namedKAMELEOON_USER. Replace the example password with a strong password of your own:
Key-pair authentication
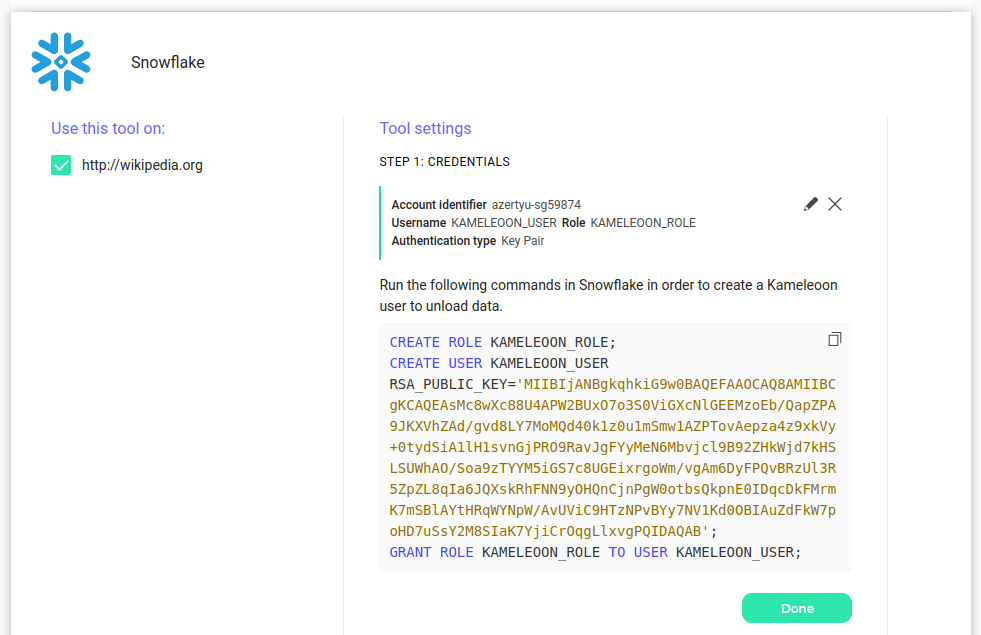
The second authentication method uses an RSA key pair, which consists of an RSA private key and an RSA public key. Kameleoon generates this key pair in its backend and gives you the public key. Kameleoon stores the private key on its servers and uses it to connect to your warehouse. When you click Confirm, the Kameleoon UI displays the public key with the command that assigns it to the user you created. Copy the public key before you leave the screen, because the UI doesn’t display it again. If you lose the public key, erase the connection and configure it again to generate a new key pair.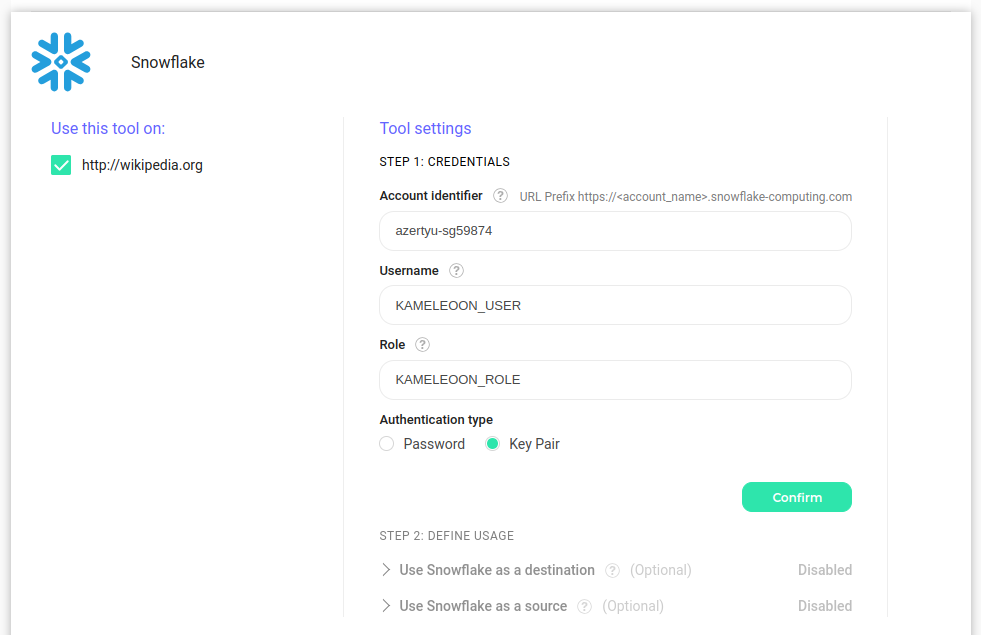
Snowflake role
Create the role
Run these commands to create a role namedKAMELEOON_ROLE and assign it to the KAMELEOON_USER user. You can use your own naming convention. Enter the role name in the Role field in Kameleoon.
Grant permissions to the role
Grant the role access to your warehouse. This example uses a warehouse namedMY_WAREHOUSE:
KAMELEOON. Use this exact name, and grant the role permission to use the database and create tables in its schemas:
FUTURE grants apply to the schemas that you create in the next steps.
If you plan on using Snowflake as a source
If you plan on using Snowflake as a source, create a schema namedKAMELEOON_CONFIGURATION. Use this exact name:
MY_AUDIENCES schema of the MY_DATA database, run these commands:
If you plan on using Snowflake as a destination
If you plan on using Snowflake as a destination, create a schema namedKAMELEOON_EVENTS. Use this exact name. Kameleoon writes its event tables to this schema: