

Activate Kameleoon on CloudImage
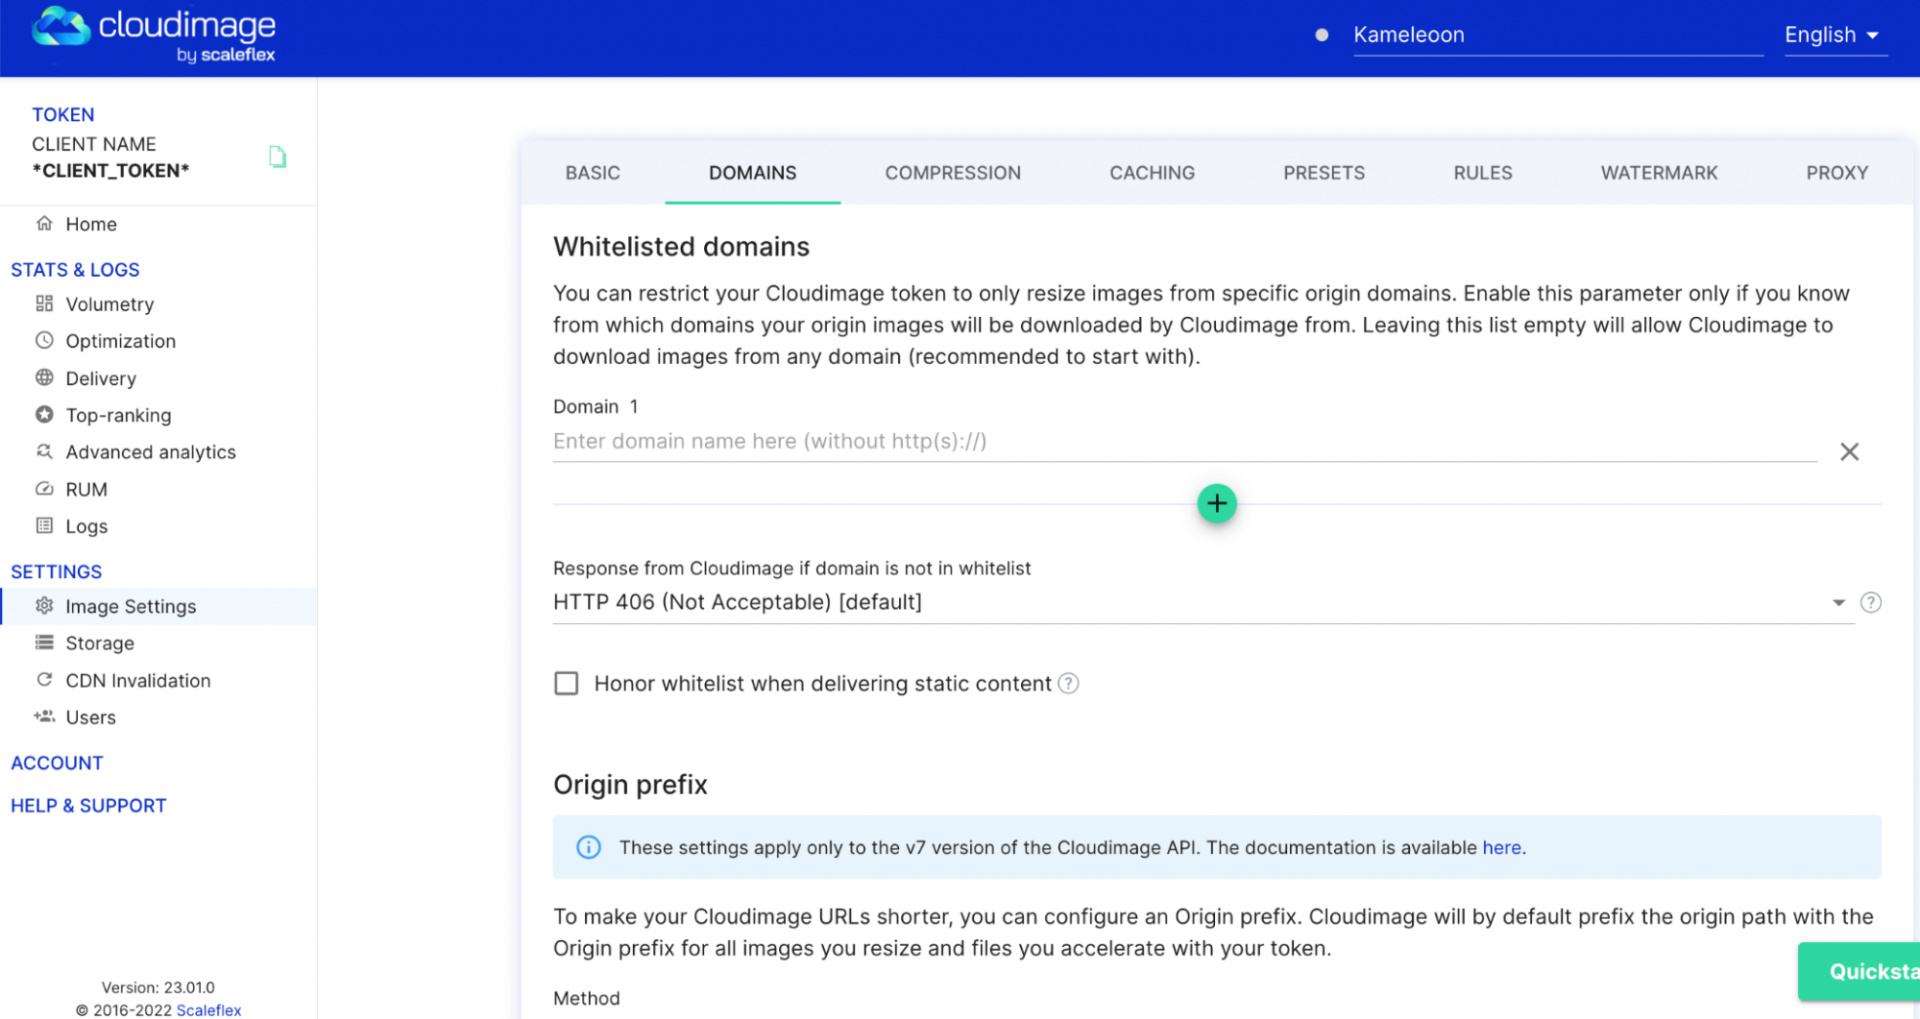
- In CloudImage, select Image settings > Domains.
- Create an alias.
- Prefix and suffix the alias with double underscores (recommended by CloudImage).
- Specify the Kameleoon path name.
- Remember to enter your Kameleoon sitecode.
- Save your changes
Do not hesitate to consult CloudImage documentation for more details.
Activate CloudImage on Kameleoon
- Log in to Kameleoon, and go to your dashboard project page.
- Ensure you’re using an admin account.
- Select your project and click Setup.
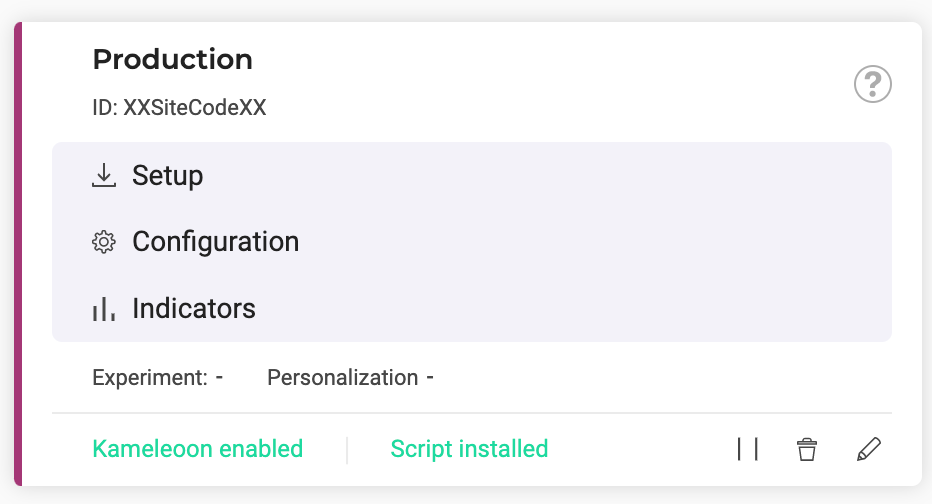
- In the Resource Hosting section, select Yes (Image Only).
- Enter the following URL according to your cloudImage token and the CloudImage setup:
https://TOKEN.cloudimg.io/_XXsiteCodeXX/
https://TOKEN.cloudimg.io/_XXsiteCodeXX/
- TOKEN is your
cloudImagetoken, and_XXsiteCodeXXis the alias you created in CloudImage.
