> ## Documentation Index
> Fetch the complete documentation index at: https://docs.kameleoon.com/llms.txt
> Use this file to discover all available pages before exploring further.
# Using simulation mode
> Preview and test feature experiment configurations in a controlled environment before deploying them to production.
Simulation mode enables you to preview and test experiments in a controlled environment before you deploy them to production.
For Feature Experimentation, the simulation panel is primarily used for testing and debugging. It does not offer the full functionality available in Web Experimentation. For more details, see [What the simulation panel does](#what-the-simulation-panel-does).

## Prerequisites
If you implement Kameleoon Web Experimentation or use Feature Experimentation in [Hybrid mode](../../../../../developer-docs/feature-experimentation/get-started/hybrid-experimentation), simulation mode works automatically on all major web browsers. No additional setup is required.
If you *only* use Feature Experimentation, you must manually inject the Kameleoon tag to test your configuration. To inject the tag, use the Kameleoon Chrome extension.
Simulation mode only supports web SDKs. It does not support mobile SDKs.
To manually inject the Kameleoon tag:
1. Install the [Kameleoon Chrome Extension](https://chromewebstore.google.com/detail/kameleoon/nimncjjomfcjmfnghgaopccmdggjfoam).
2. Open the extension in your browser console and follow the on-screen instructions to log in.
3. Open the **DevTools** panel and click **Tag Injection**.
4. Enter your **Sitecode**, select your **Environment**, and select the **Add Anti-Flicker** checkbox.
5. Apply the changes and refresh the page.
6. In **DevTools**, open the **Network** tab and verify the `kameleoon.js?injected=true` request appears. This request confirms successful tag injection.
## Access the simulation panel
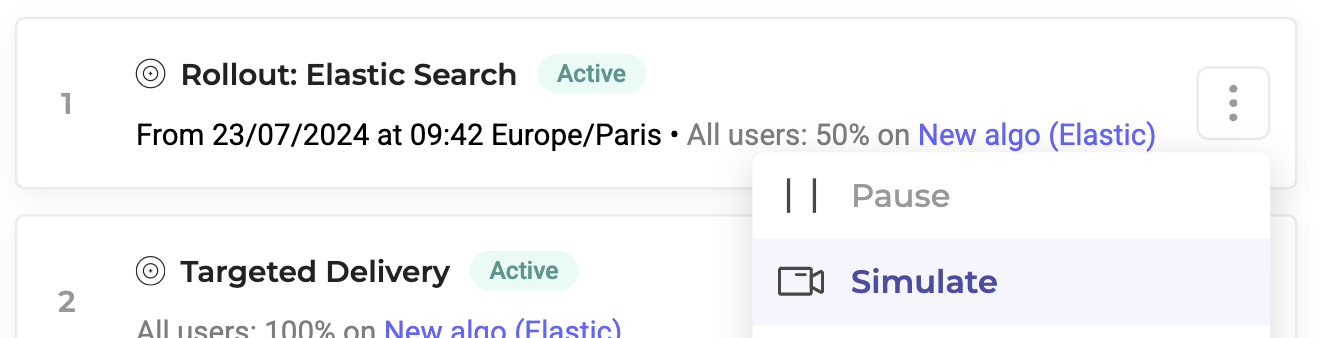
After you confirm the tag injection, click the **three dots** menu for a rule, then click **Simulate**.
To ensure the SDK recognizes the flag configuration, verify the flag toggle is **ON** and the rule is **Active**.
Alternatively, open the **three dots** menu in the top right of the editor, click **Simulate**, and select a rule from any environment to launch.
The simulation panel appears in the bottom half of the page.
## What the simulation panel does
* **Displays variants:** The simulation panel enables you to select and preview a variant in your browser for testing.
* To test a variant in production without exposing it to users, set the allocated traffic for the variant to 0%.
* **Overrides targeting behavior:** The simulation panel ignores targeting rules. Targeting is managed at the SDK level, but the simulation panel overrides these rules to force the display of the selected variant.