> ## Documentation Index
> Fetch the complete documentation index at: https://docs.kameleoon.com/llms.txt
> Use this file to discover all available pages before exploring further.
# ウィジェットにHTMLブロックを追加する
> ウィジェットにHTML要素を挿入し、カスタムHTMLコードを追加し、CSSまたはラッパーコンテナオプションを使用してブロックを配置します。
この記事では、次の方法を学びます。
* HTML要素を追加する
* HTMLコードを編集する
* HTML要素を配置する
## HTML要素を追加する
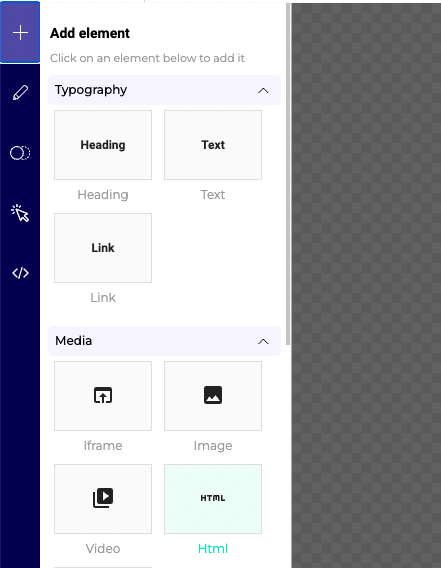
1. 左サイドバーの **Add element** をクリックします。
* **Design** メニューを選択している場合は **+** アイコンをクリックします。
2. **Media** > **HTML** をクリックします。
## HTMLコードを編集する
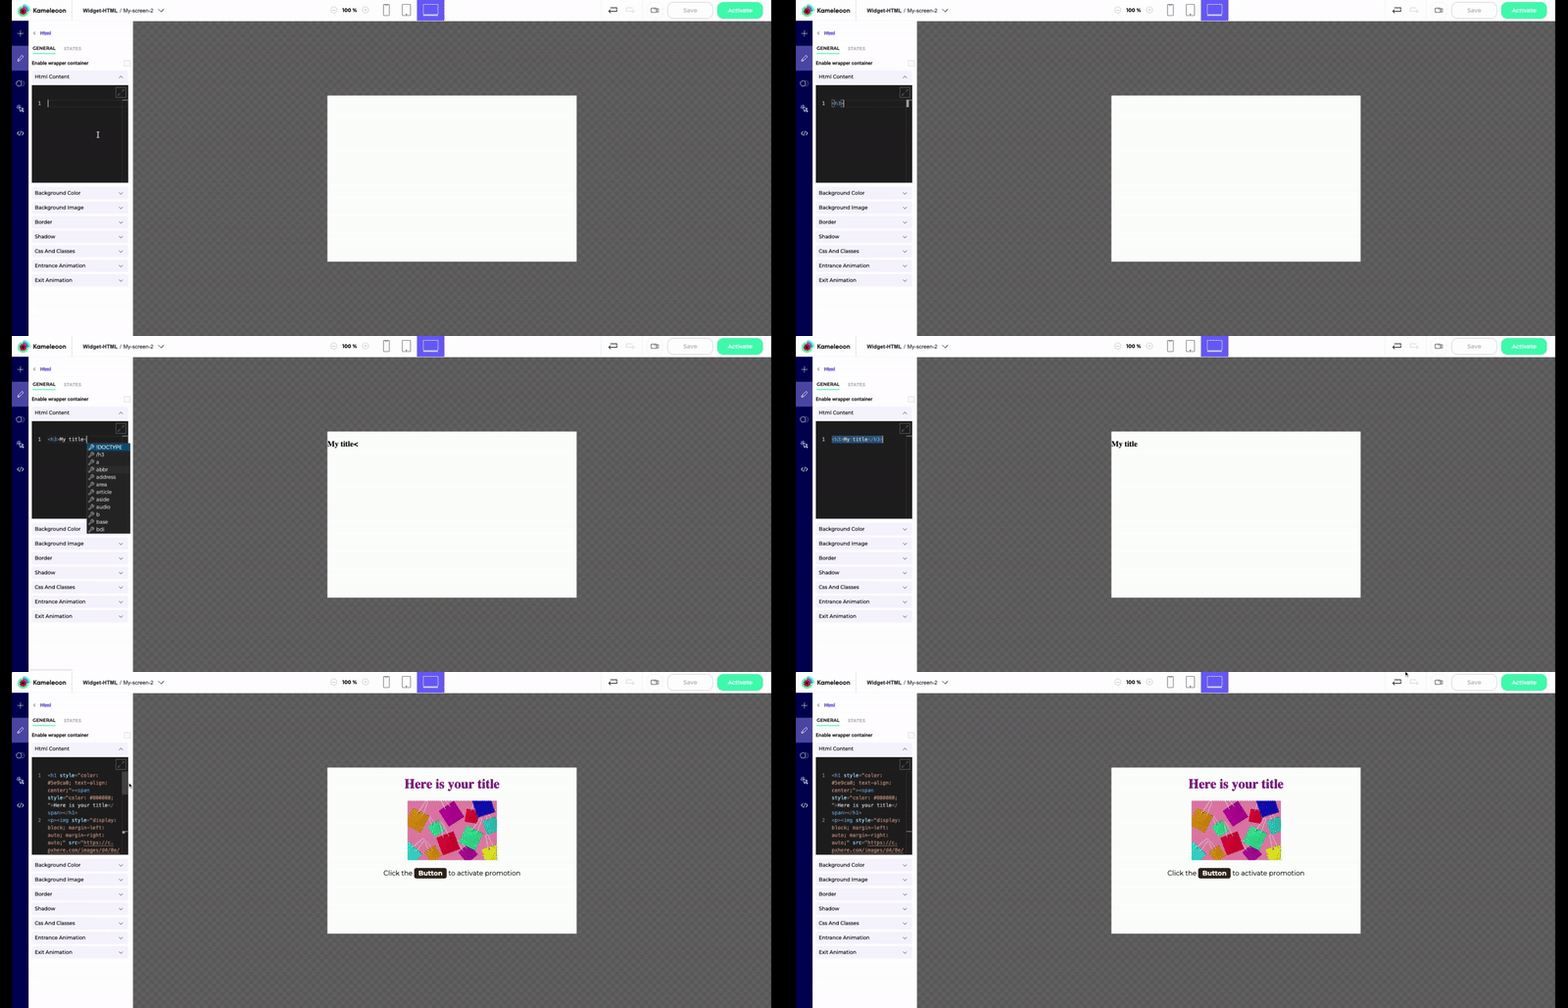
1. **HTML Content** セクションにHTMLコードを追加します。
2. コードエディタの右上隅にある拡大アイコンをクリックして、エディタを全画面で開きます。
**Custom Code** セクションにカスタムCSSまたはJSを追加している場合、そのコードをHTMLコードに追加できます。
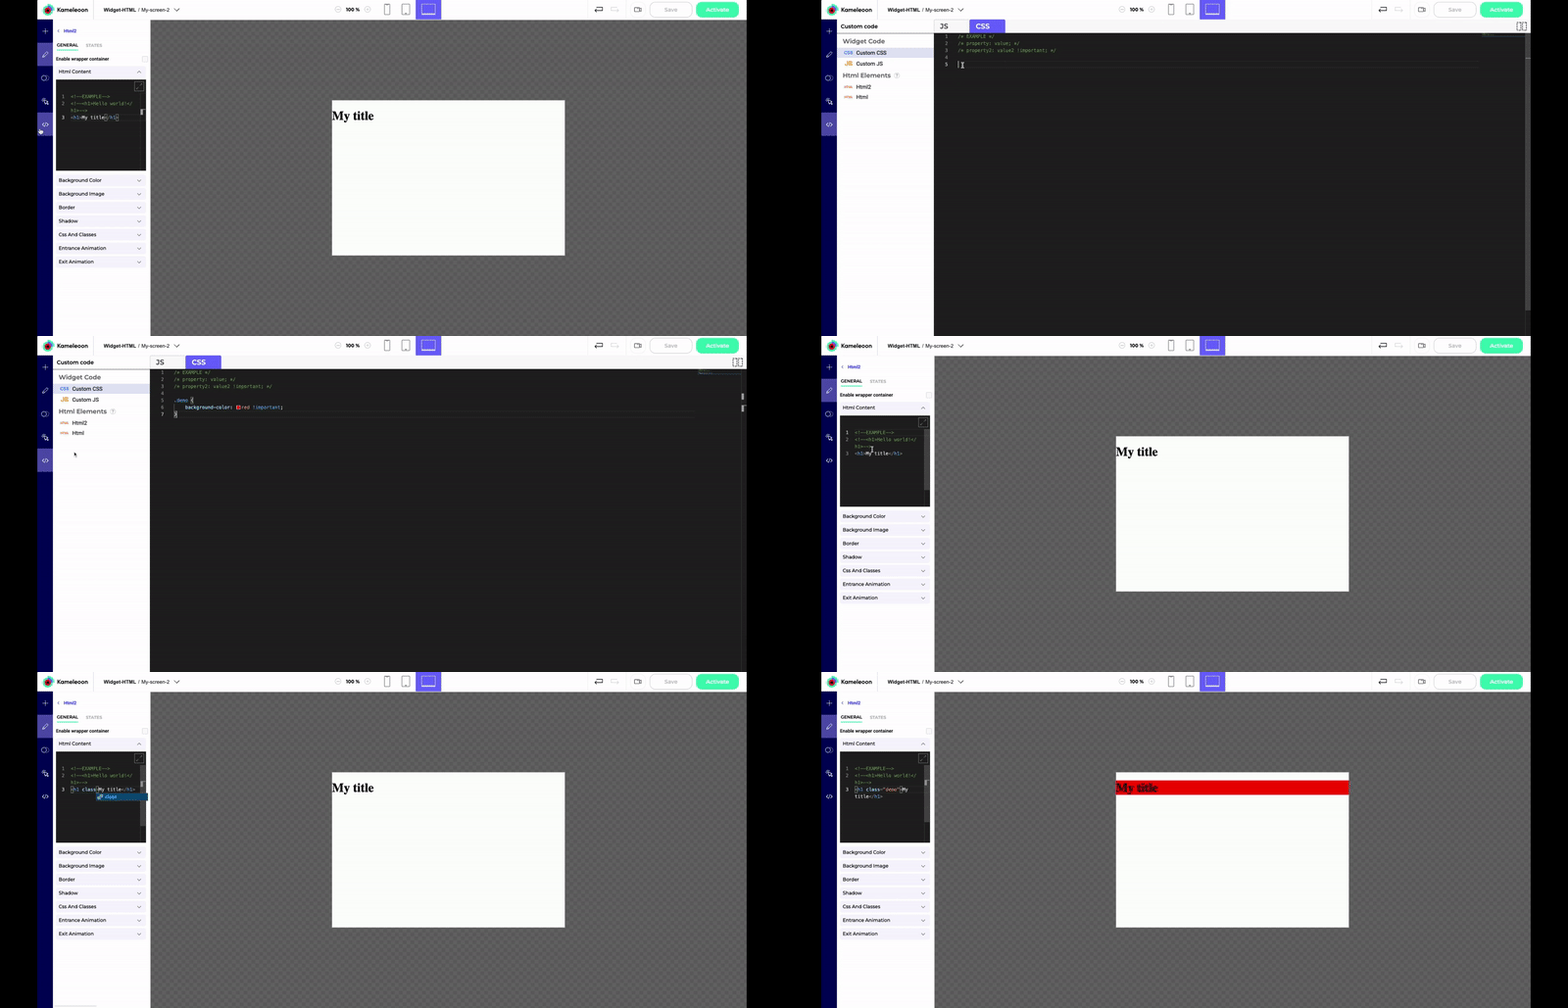
たとえば、**Custom Code** セクションに次のカスタムCSSコードを追加できます。
```css theme={null}
.demo {
background-color: red !important;
}
```
次に、このクラスをHTMLコードの要素に適用します(ここでは `` タグ)。
`My title
`
右のプレビューエリアが更新されます。
## HTML要素を配置する
HTMLコードはデフォルトではウィジェット内に配置されていません。ただし、マージンやパディングなどのCSS配置プロパティを使用して、好きな場所に配置できます。
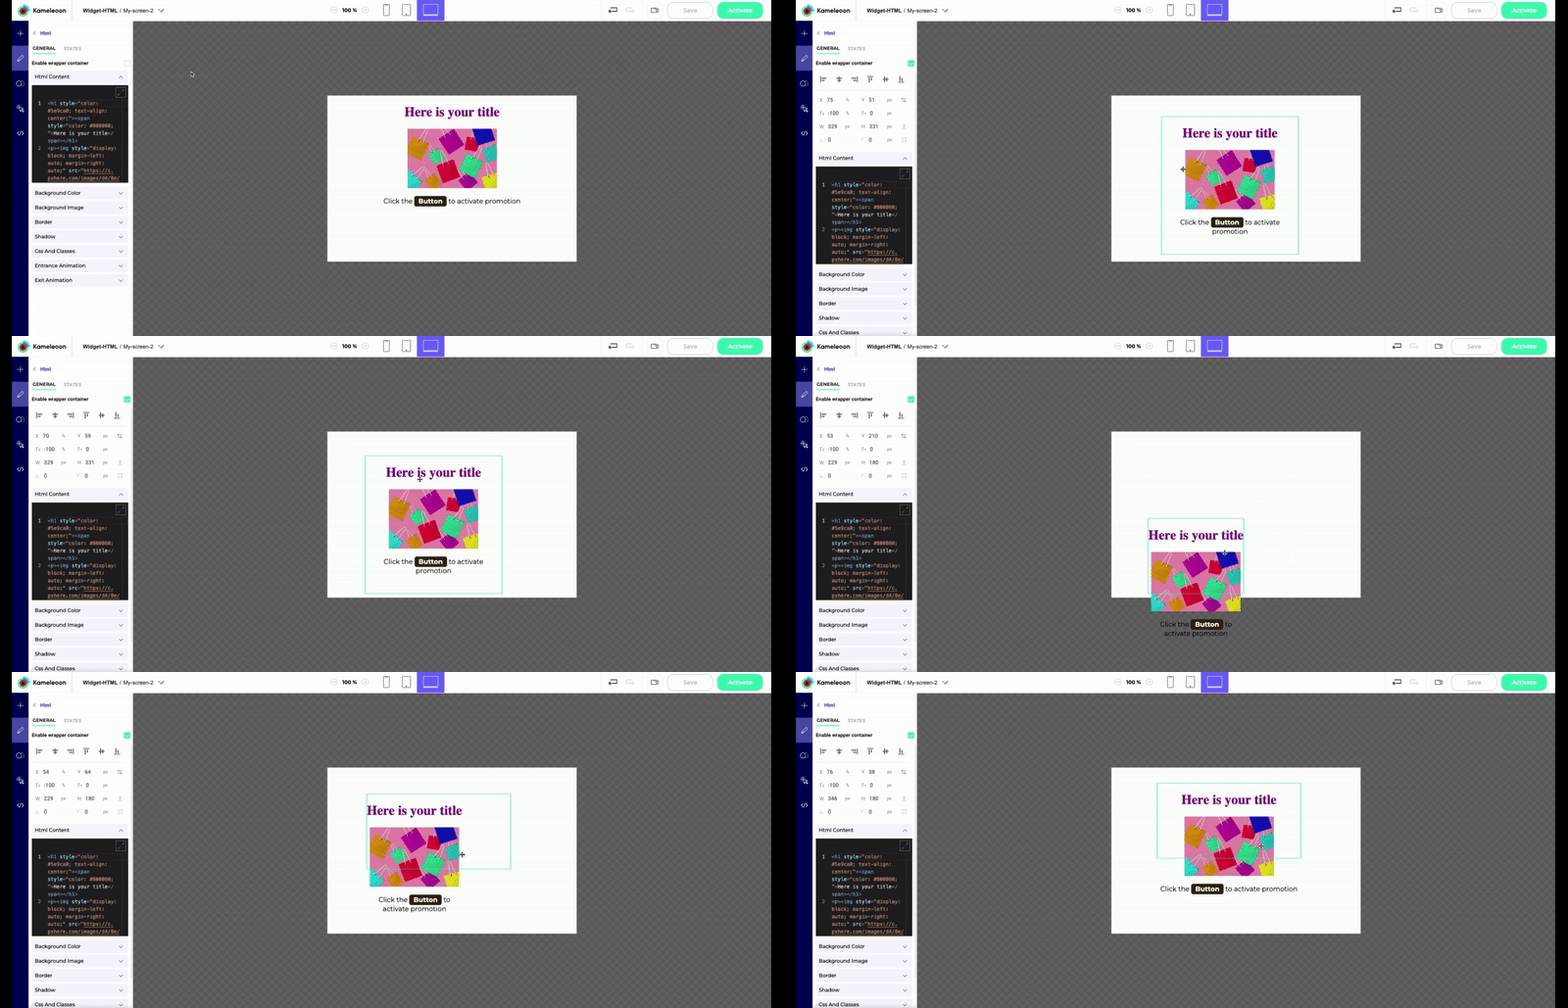
**Enable wrapper container** をチェックすると、他の要素と同様に右のプレビューエリアでHTMLブロックを配置できます。