> ## Documentation Index
> Fetch the complete documentation index at: https://docs.kameleoon.com/llms.txt
> Use this file to discover all available pages before exploring further.
# 新しい実験を作成する
> Automation API の Create Experiment エンドポイントを使用して、プログラムで新しい A/B 実験を作成します。
## ゴール
[グラフィックエディタガイド](/user-manual/experimentation/web-experimentation/graphic-based-experiments/getting-started-with-the-graphic-editor) で説明されているとおり、[Automation API Create Experiment エンドポイント](/api-reference/experiment/create-a-new-experiment) を使用して新しい実験 `Experiment_1` を作成します。
このチュートリアルでは、コードベースの実験(`DEVELOPER`)を作成します。多変量テスト(`type: MVT`)の場合、Kameleoon は `mvtAllocationSettings` に送信した値に関係なく、作成時に常にすべてのバリエーションに均等なトラフィック配分を適用します。カスタムのトラフィック配分を設定するには、代わりに[多変量テストの実験を作成する](/ja/developer-docs/apis/automation-api-rest/tutorials/experiments/create-a-multivariate-experiment)の手順に従ってください。
## 要件
* `access token`
Automation API には [アクセストークン](/developer-docs/apis/automation-api-rest/get-started/get-started) が必要です。
[アクセストークン取得セクション](/developer-docs/apis/automation-api-rest/get-started/get-started#1-obtain-an-access-token) の手順に従って、プログラムでトークンを取得します。
* `siteId`
* [サイトをコードで取得するエンドポイント](/api-reference/site/get-a-site-by-code) を呼び出して、`siteCode` を指定してコードで直接 `siteId` を取得します。
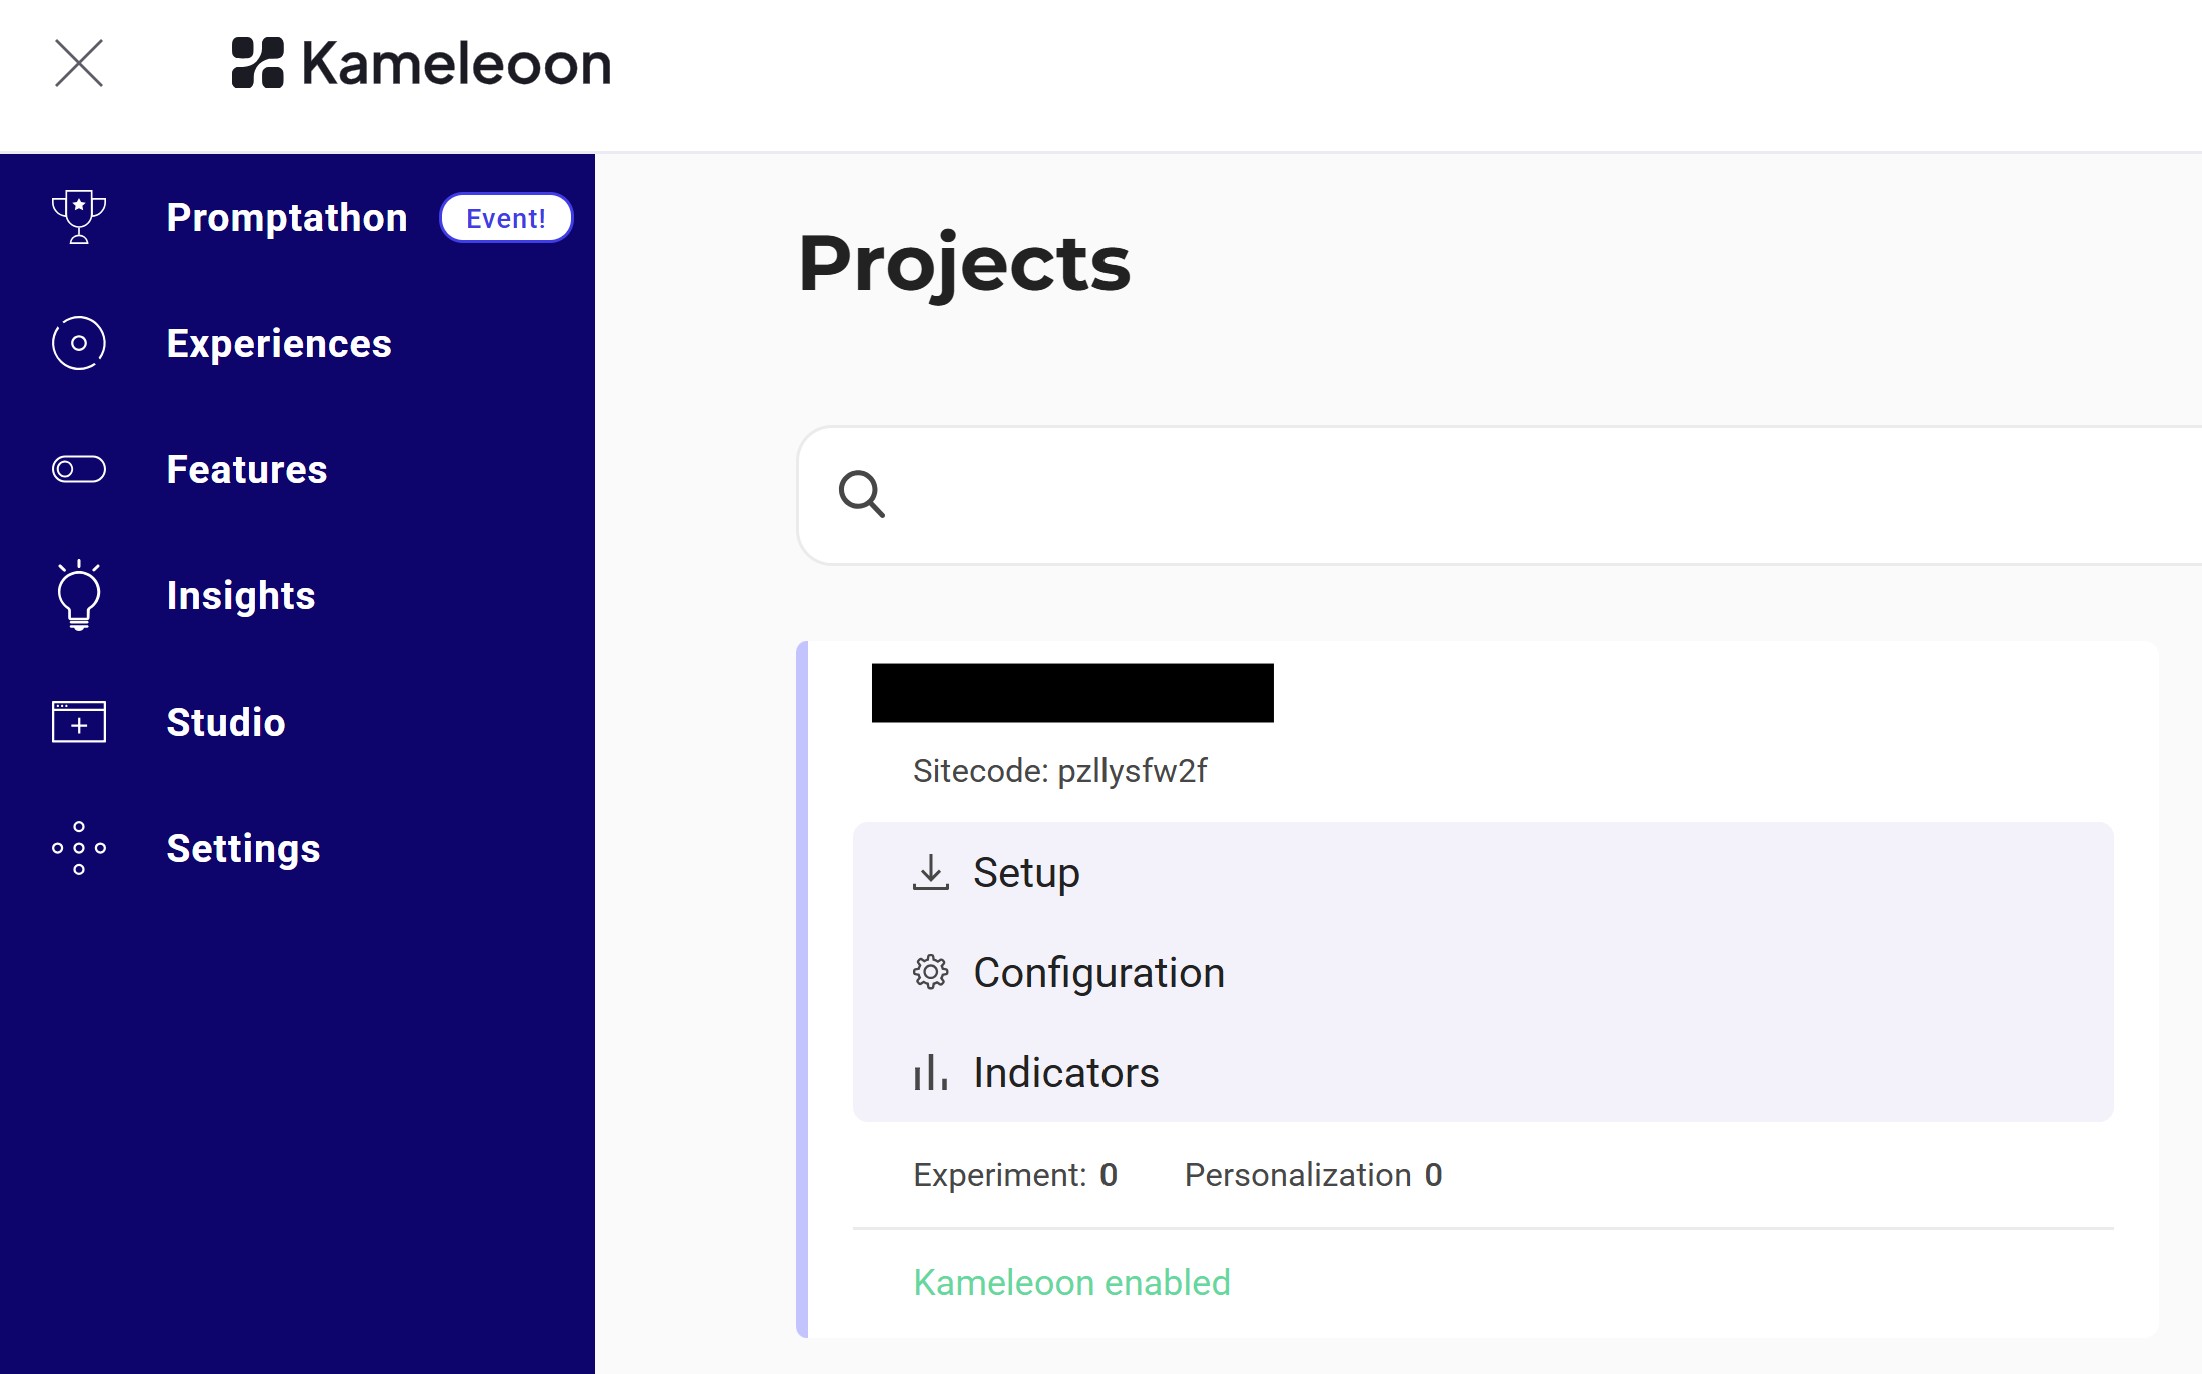
* または、Kameleoon アカウントにログインし、左下隅にナビゲートして、**Admin** セクションの **Projects** を選択します:
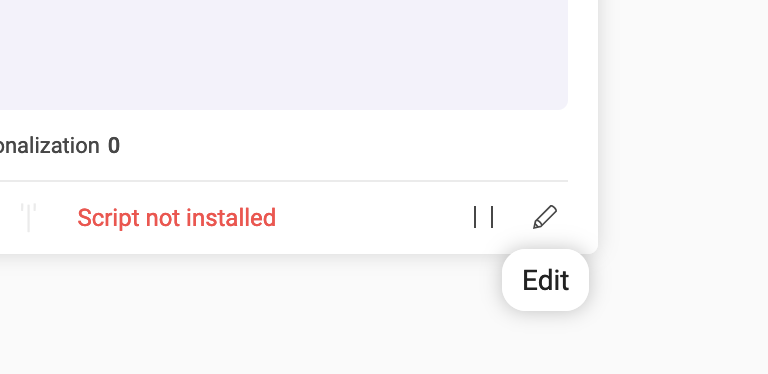
プロジェクトの **Edit** をクリックします:
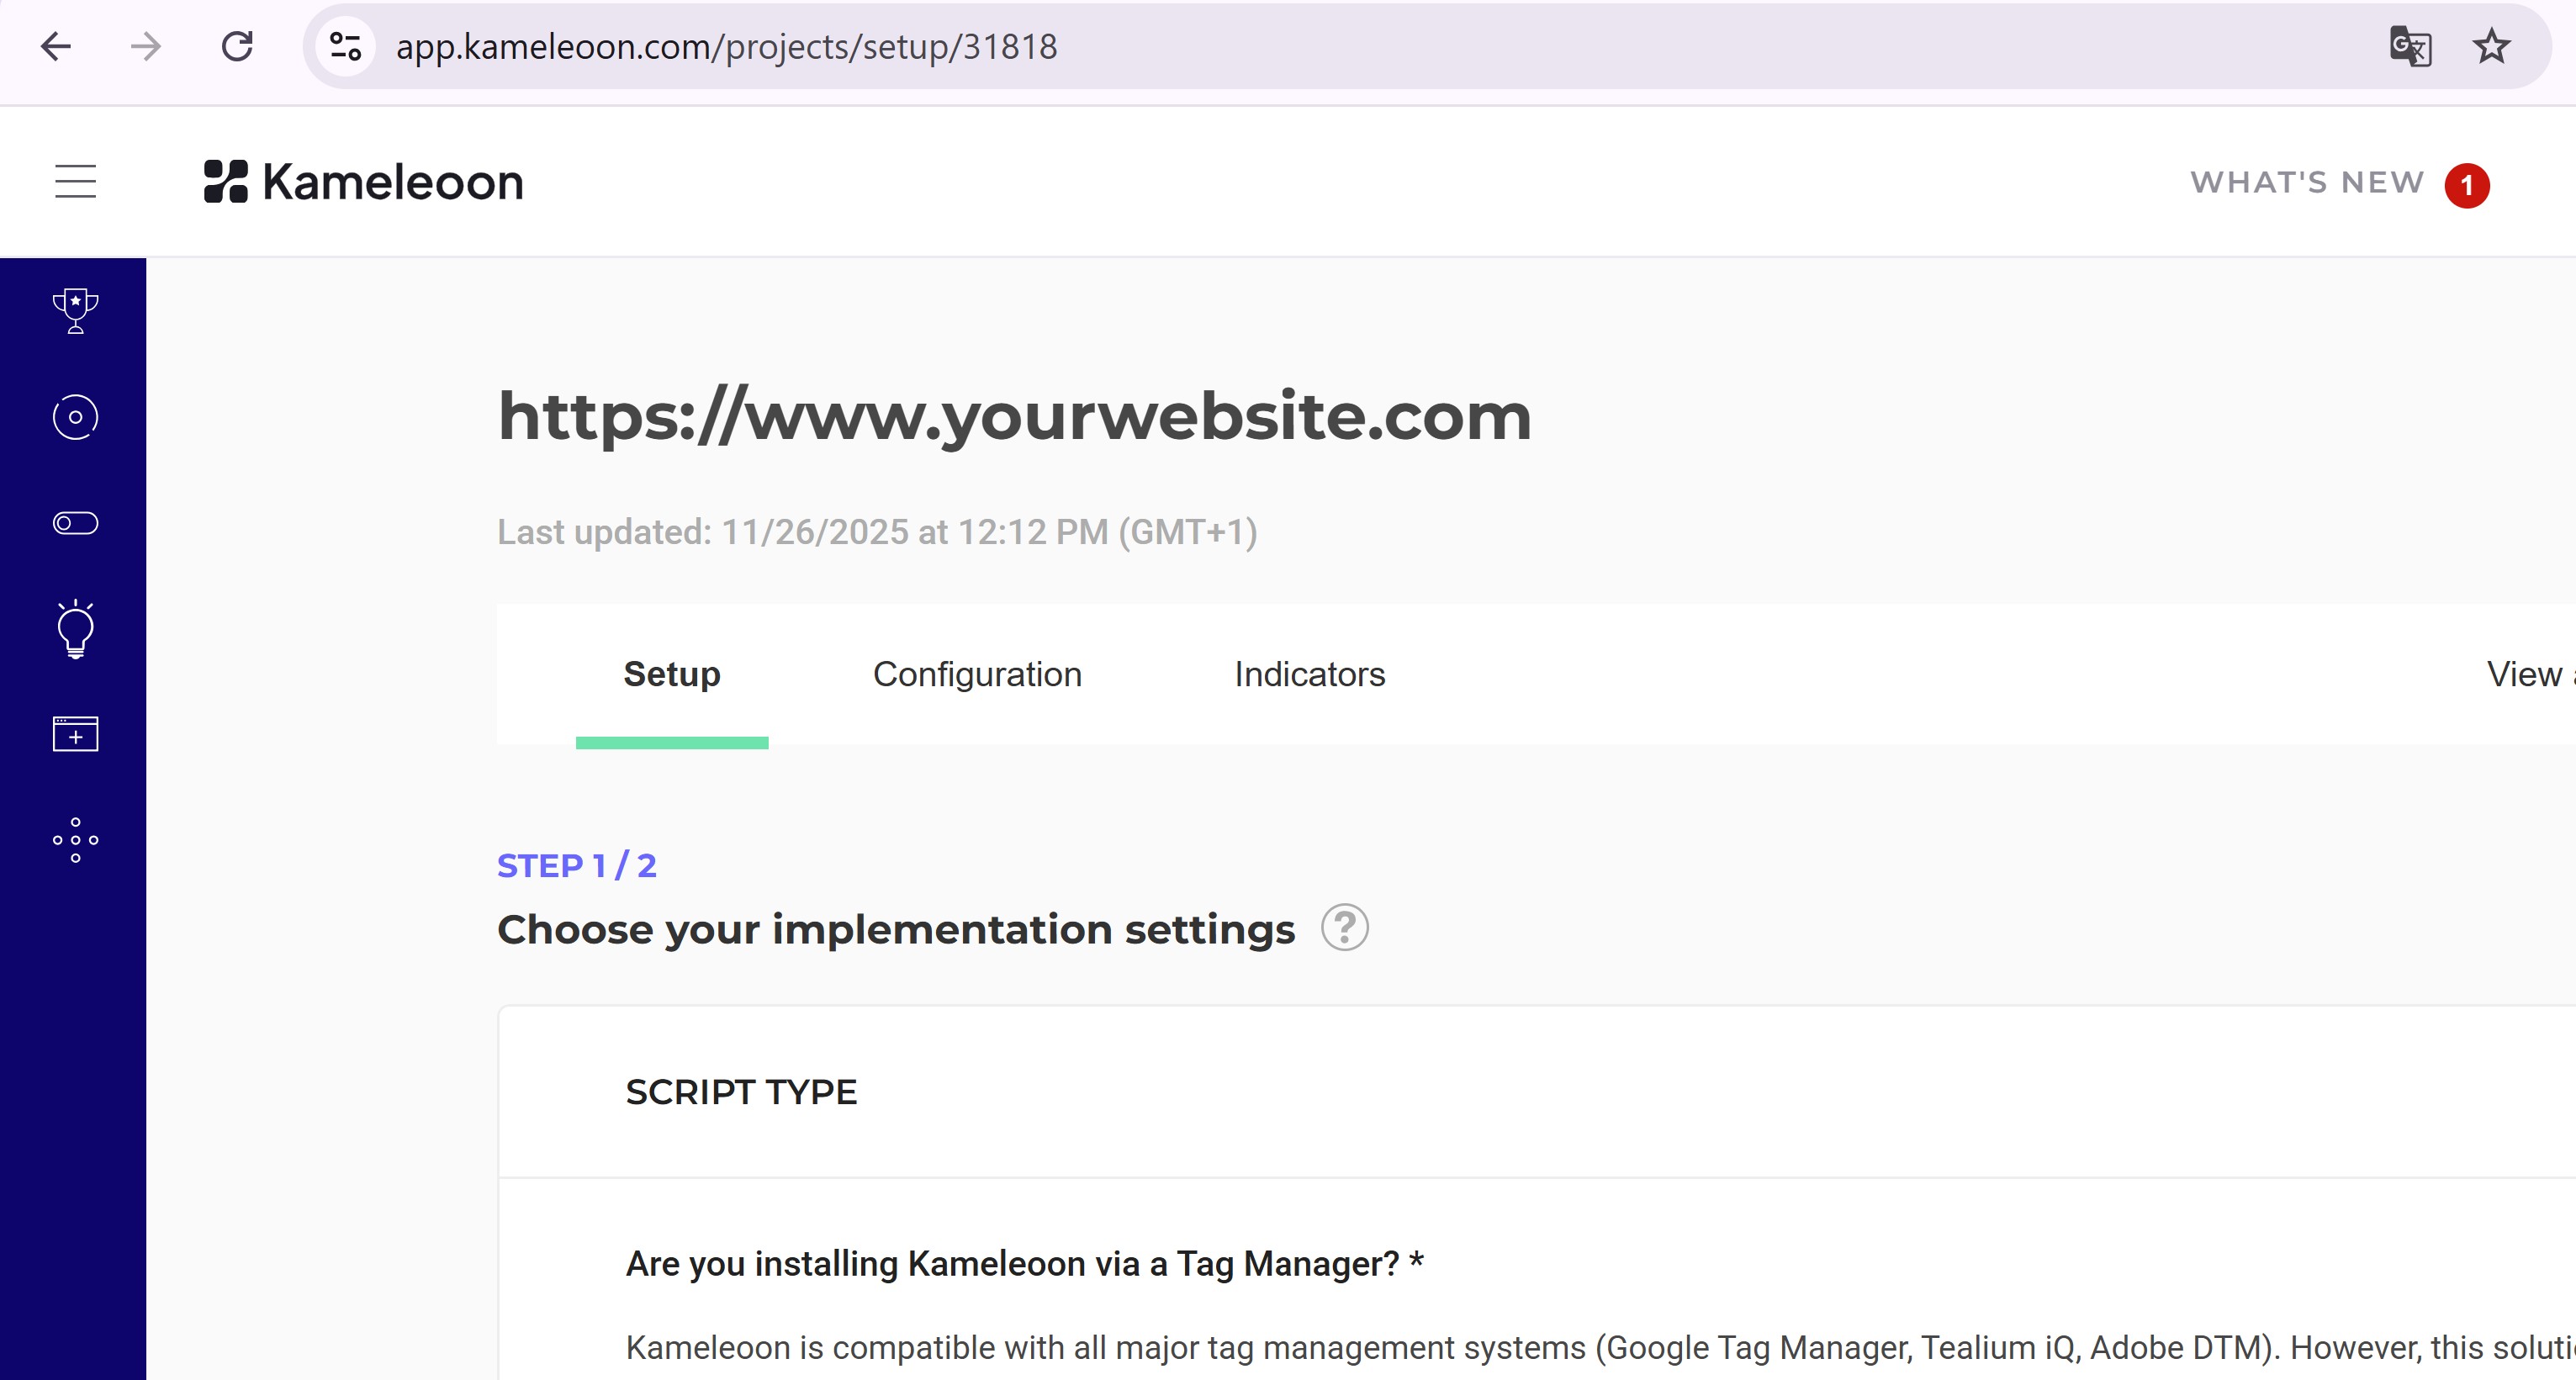
`siteId` は URL の中の 5 桁の数字です(例: **29353**):
## 手順
### 1. 実験を作成する
**エンドポイント:**
```
POST https://api.kameleoon.com/experiments
```
| 名前 | 型 | 説明 |
| ------- | ------ | ------------------------------------------------------------------------------------------------------------------------------ |
| baseURL | String | グラフィックエディタでロードするページの URL。 |
| name | String | 実験名。 |
| siteId | String | プロジェクトの `siteId`。 |
| type | String | 実験のタイプ(たとえば、コードベースの実験には `DEVELOPER`)。[API リファレンス](/developer-docs/apis/automation-api-rest/get-started/get-started) を参照してください。 |
**例:**
```bash theme={null}
curl -L -X POST 'https://api.kameleoon.com/experiments' \
-H 'Content-Type: application/json' \
-H 'Accept: */*' \
-H 'Authorization: Bearer ' \
--data-raw '{"baseURL":"https://test-site.fr/","name":"Experiment_1","siteId":29353,"type":"DEVELOPER"}'
```
**レスポンス:**
```json theme={null}
{
"id": 283505,
"siteId": 29353,
"name": "Experiment_1",
"baseURL": "https://test-site.fr/",
"type": "DEVELOPER",
"status": "draft",
"variations": [1053310],
"isArchived": false
}
```
### 2. 実験を確認する
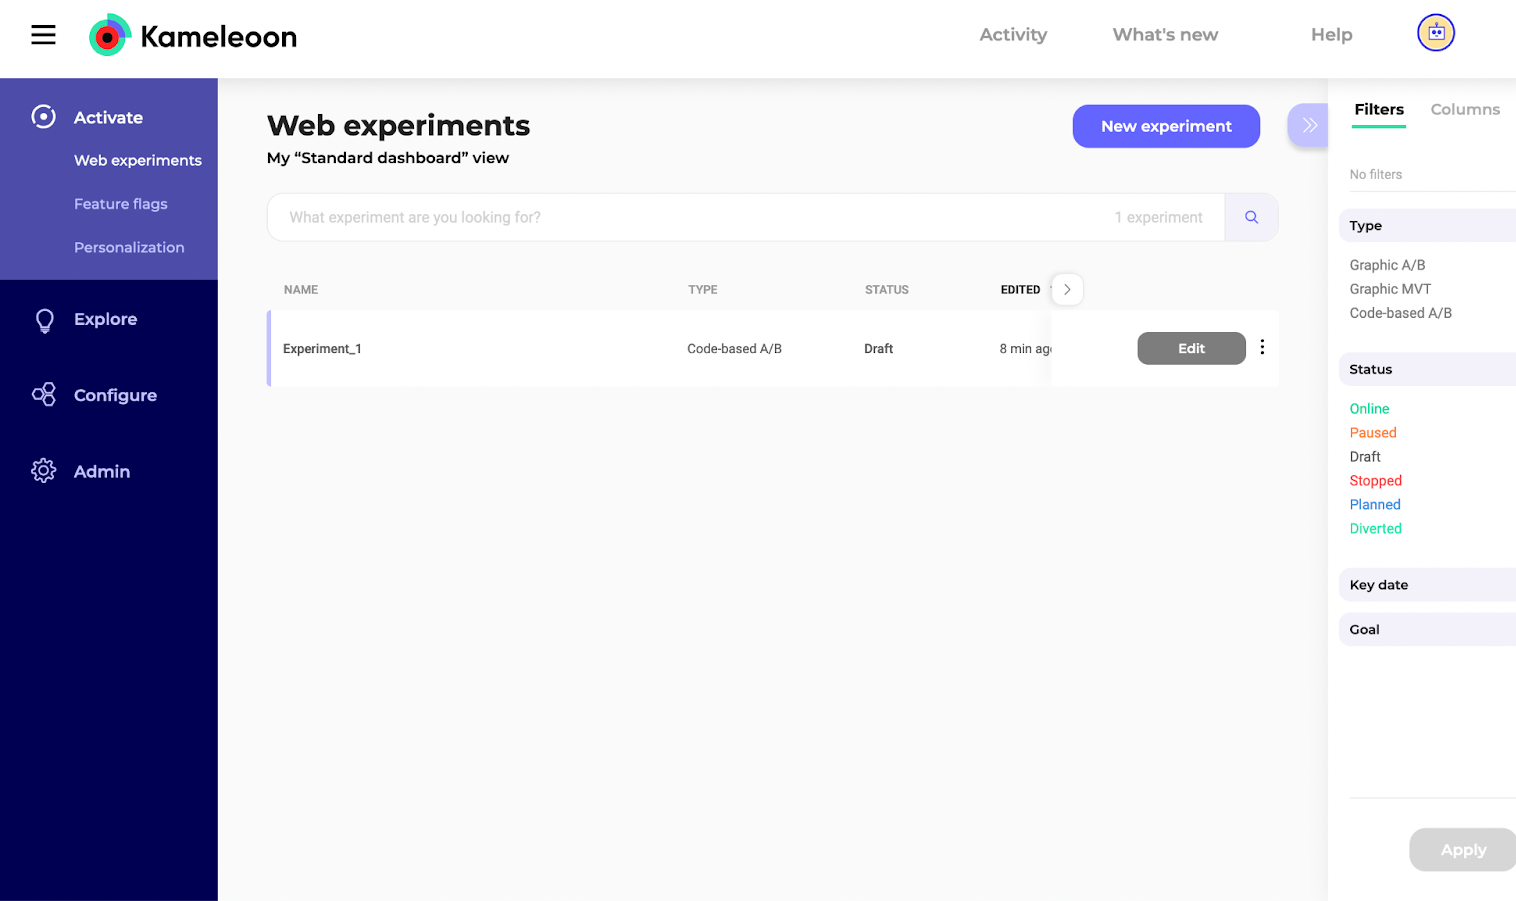
**Experiments Dashboard** に移動し、ページを再読み込みします。
`Experiment_1` が表示されるはずです: