> ## Documentation Index
> Fetch the complete documentation index at: https://docs.kameleoon.com/llms.txt
> Use this file to discover all available pages before exploring further.
# A/B test LLM prompts with feature flags
> Use Kameleoon feature flags to compare prompt variations for your LLM-powered application against real user engagement metrics, without redeploying your application.
Prompt engineering has no reliable formula. Rewriting a prompt to ask a large language model (LLM) for a "detailed and accurate summary" instead of a "succinct overview" changes how the model responds, but you have no way to know whether that change actually helps your users until you measure it against real behavior. Evaluation frameworks such as RAGAS score whether your LLM application answers correctly. They don't tell you whether a prompt change helps users accomplish what they came to your product to do.
Feature Experimentation closes that gap. You store each candidate prompt as a feature variable, split traffic between the variations, and track the engagement or business metric you care about. Because the prompt lives in a feature flag instead of your source code, you can add, edit, or roll back a variation from the Kameleoon platform without redeploying your application.
## How it works
A feature flag stores each prompt as the value of a feature variable, with one variation per prompt you want to test. When a visitor reaches your application, the Kameleoon SDK assigns the visitor to a variation and returns the corresponding prompt, which your application code sends to the LLM. A goal attached to the feature flag records a conversion when the visitor interacts with your LLM-powered feature, such as asking a follow-up question or completing a task with the assistant's help. After you collect enough traffic, compare the conversion rate of each variation to decide which prompt performs best.
## Prerequisites
* A Kameleoon account with a project set up for feature experimentation.
* Your account's client ID and client secret. To find these values, see [API credentials](/user-manual/account-and-team-management/users-and-teams/api-credentials).
* A Python application where you can install the Kameleoon SDK.
## Set up your prompt experiment in Kameleoon
Configure the feature flag, prompt variations, and tracking goal in the Kameleoon platform before you touch your application code.
### Create the feature flag
Create a feature flag to hold your prompt variations and control the rollout of your experiment.
1. In the Kameleoon app, click **Features** > **Flags & Experiments** > **New feature flag**.
2. Enter a name, for example `LLM prompt test`, and select the project for the flag.
3. In the **Description** field, note what the flag controls, so other members of your team understand its purpose.
4. Click **Validate**.
For more detail, see [Create a feature flag](/user-manual/experimentation/feature-experimentation/create-and-manage-flags/create-a-feature-flag).
### Store the prompt in a feature variable
Add a feature variable to hold the prompt text, so you can change it from the Kameleoon platform without editing your application code.
1. On the flag's page, in the left sidebar, click **Set Up** > **Variables** > **Add Variable**.
2. Set the variable's **Type** to **String**.
3. Enter a **Variable Key**, for example `prompt_template`.
4. Set the **Default Value** to the prompt your application currently uses. Kameleoon delivers this value to visitors who aren't part of your experiment.
5. Click **Save**.
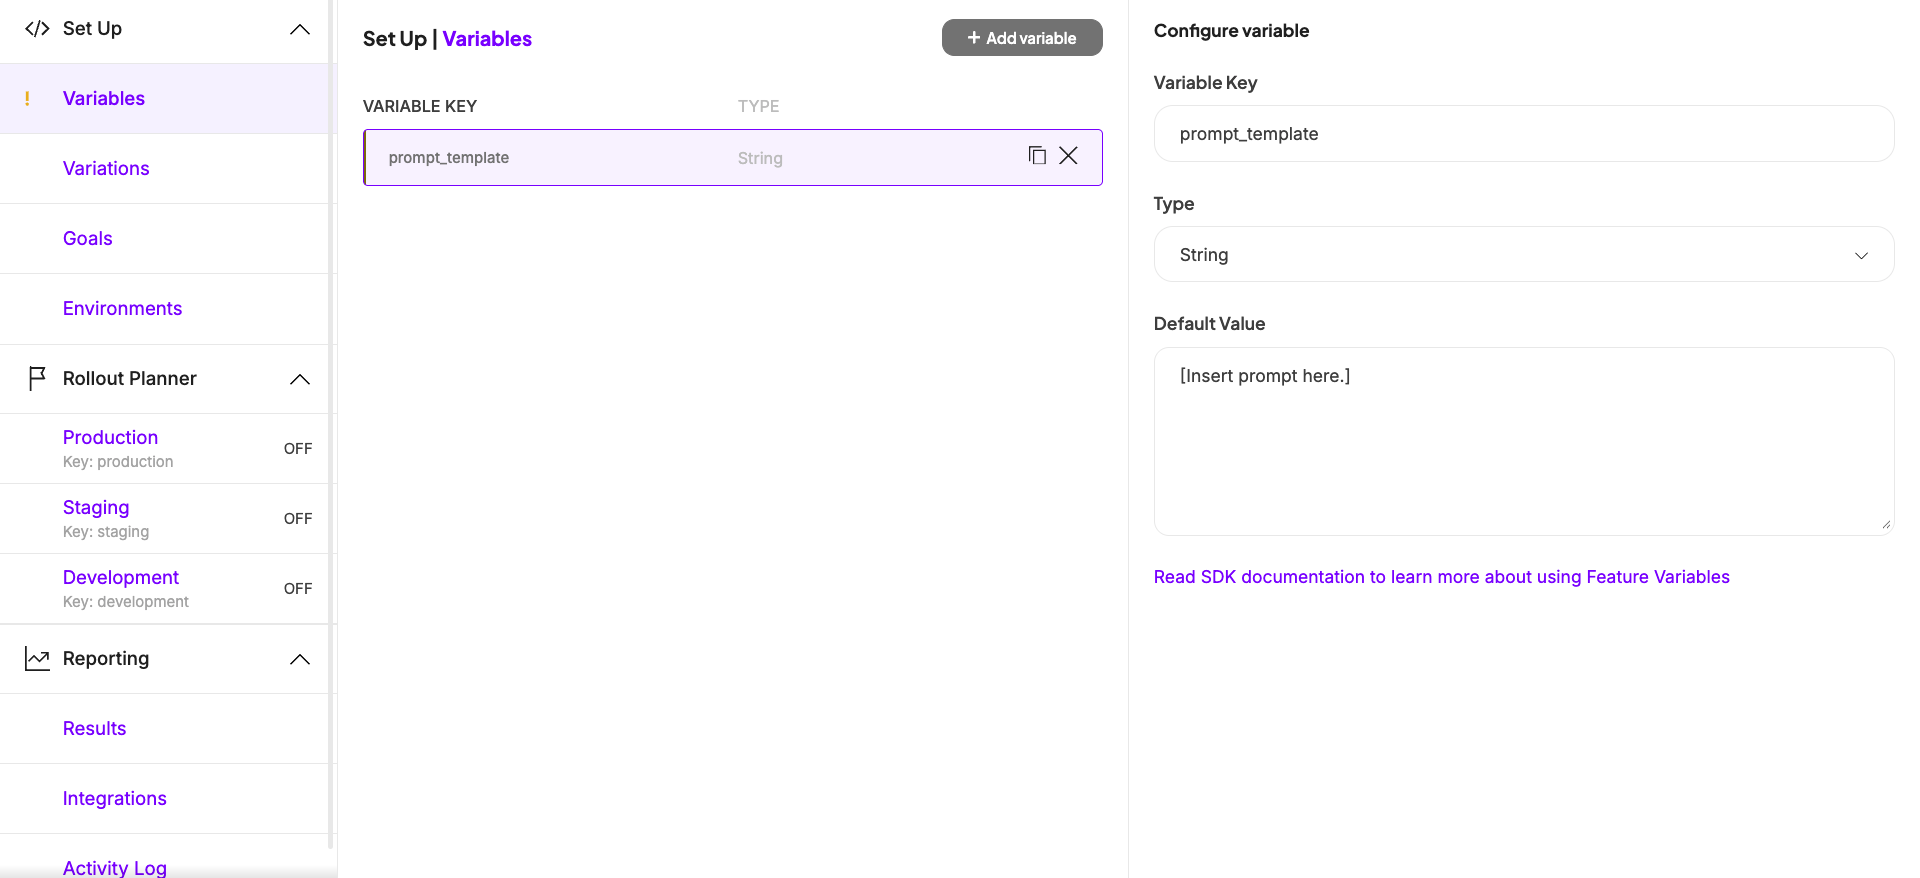
For more detail, see [Define feature variables](/user-manual/experimentation/feature-experimentation/configure-your-feature-flags/define-feature-variables).
### Create a variation for each prompt
Create one variation per prompt you want to test, and set the `prompt_template` variable to the corresponding text in each.
1. In the left sidebar, click **Set Up** > **Variations** > **Add variation**.
2. Enter a **Name** for the variation, for example `Detailed summary`.
3. Set the `prompt_template` variable to the prompt text for this variation.
4. Click **Save**.
5. Repeat these steps for each additional prompt you want to test.
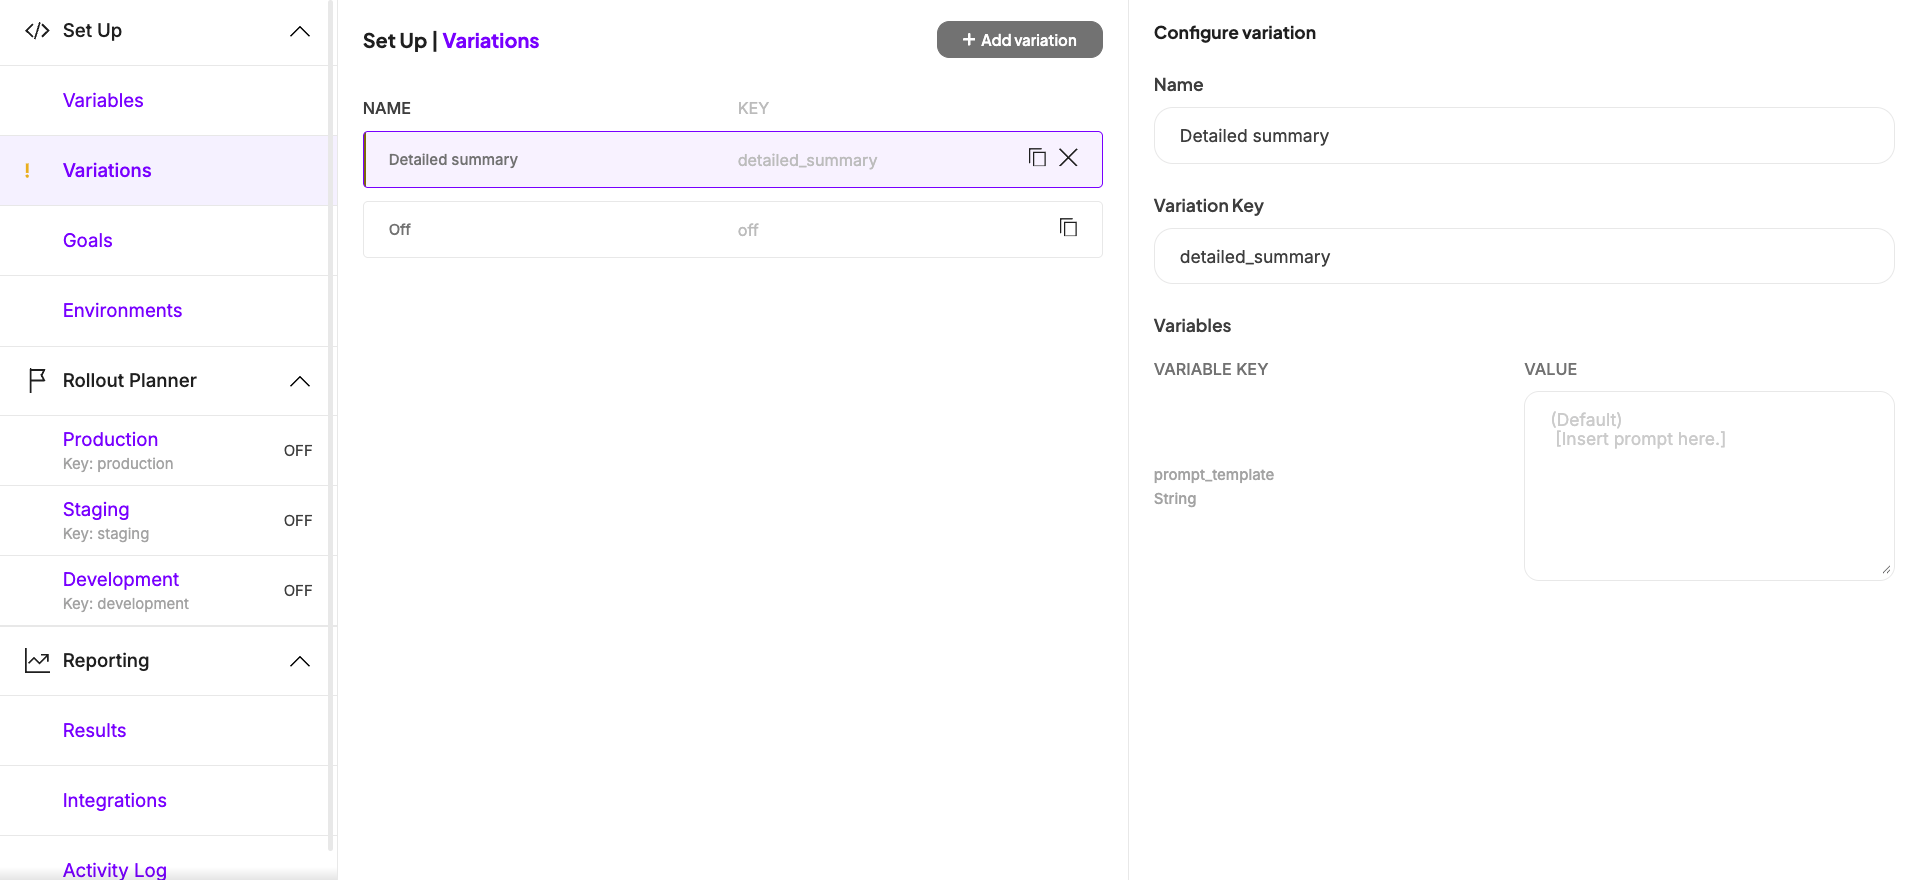
For more detail, see [Define feature variations](/user-manual/experimentation/feature-experimentation/configure-your-feature-flags/define-feature-variations).
### Attach a goal to measure engagement
Attach a goal to the feature flag so Kameleoon can measure which prompt variation drives more engagement. Because Kameleoon is a unified platform, you can attach any goal that already exists in your organization, such as a transaction goal defined by another team, or create a goal specific to your LLM-powered feature.
1. On the flag's page, in the **Set Up** menu, click **Goals** > **Add goal**.
2. Select an existing goal, or click **Create a new goal** to define one, such as a custom goal that fires when a visitor interacts with your LLM-powered feature.
3. Click **Save**.
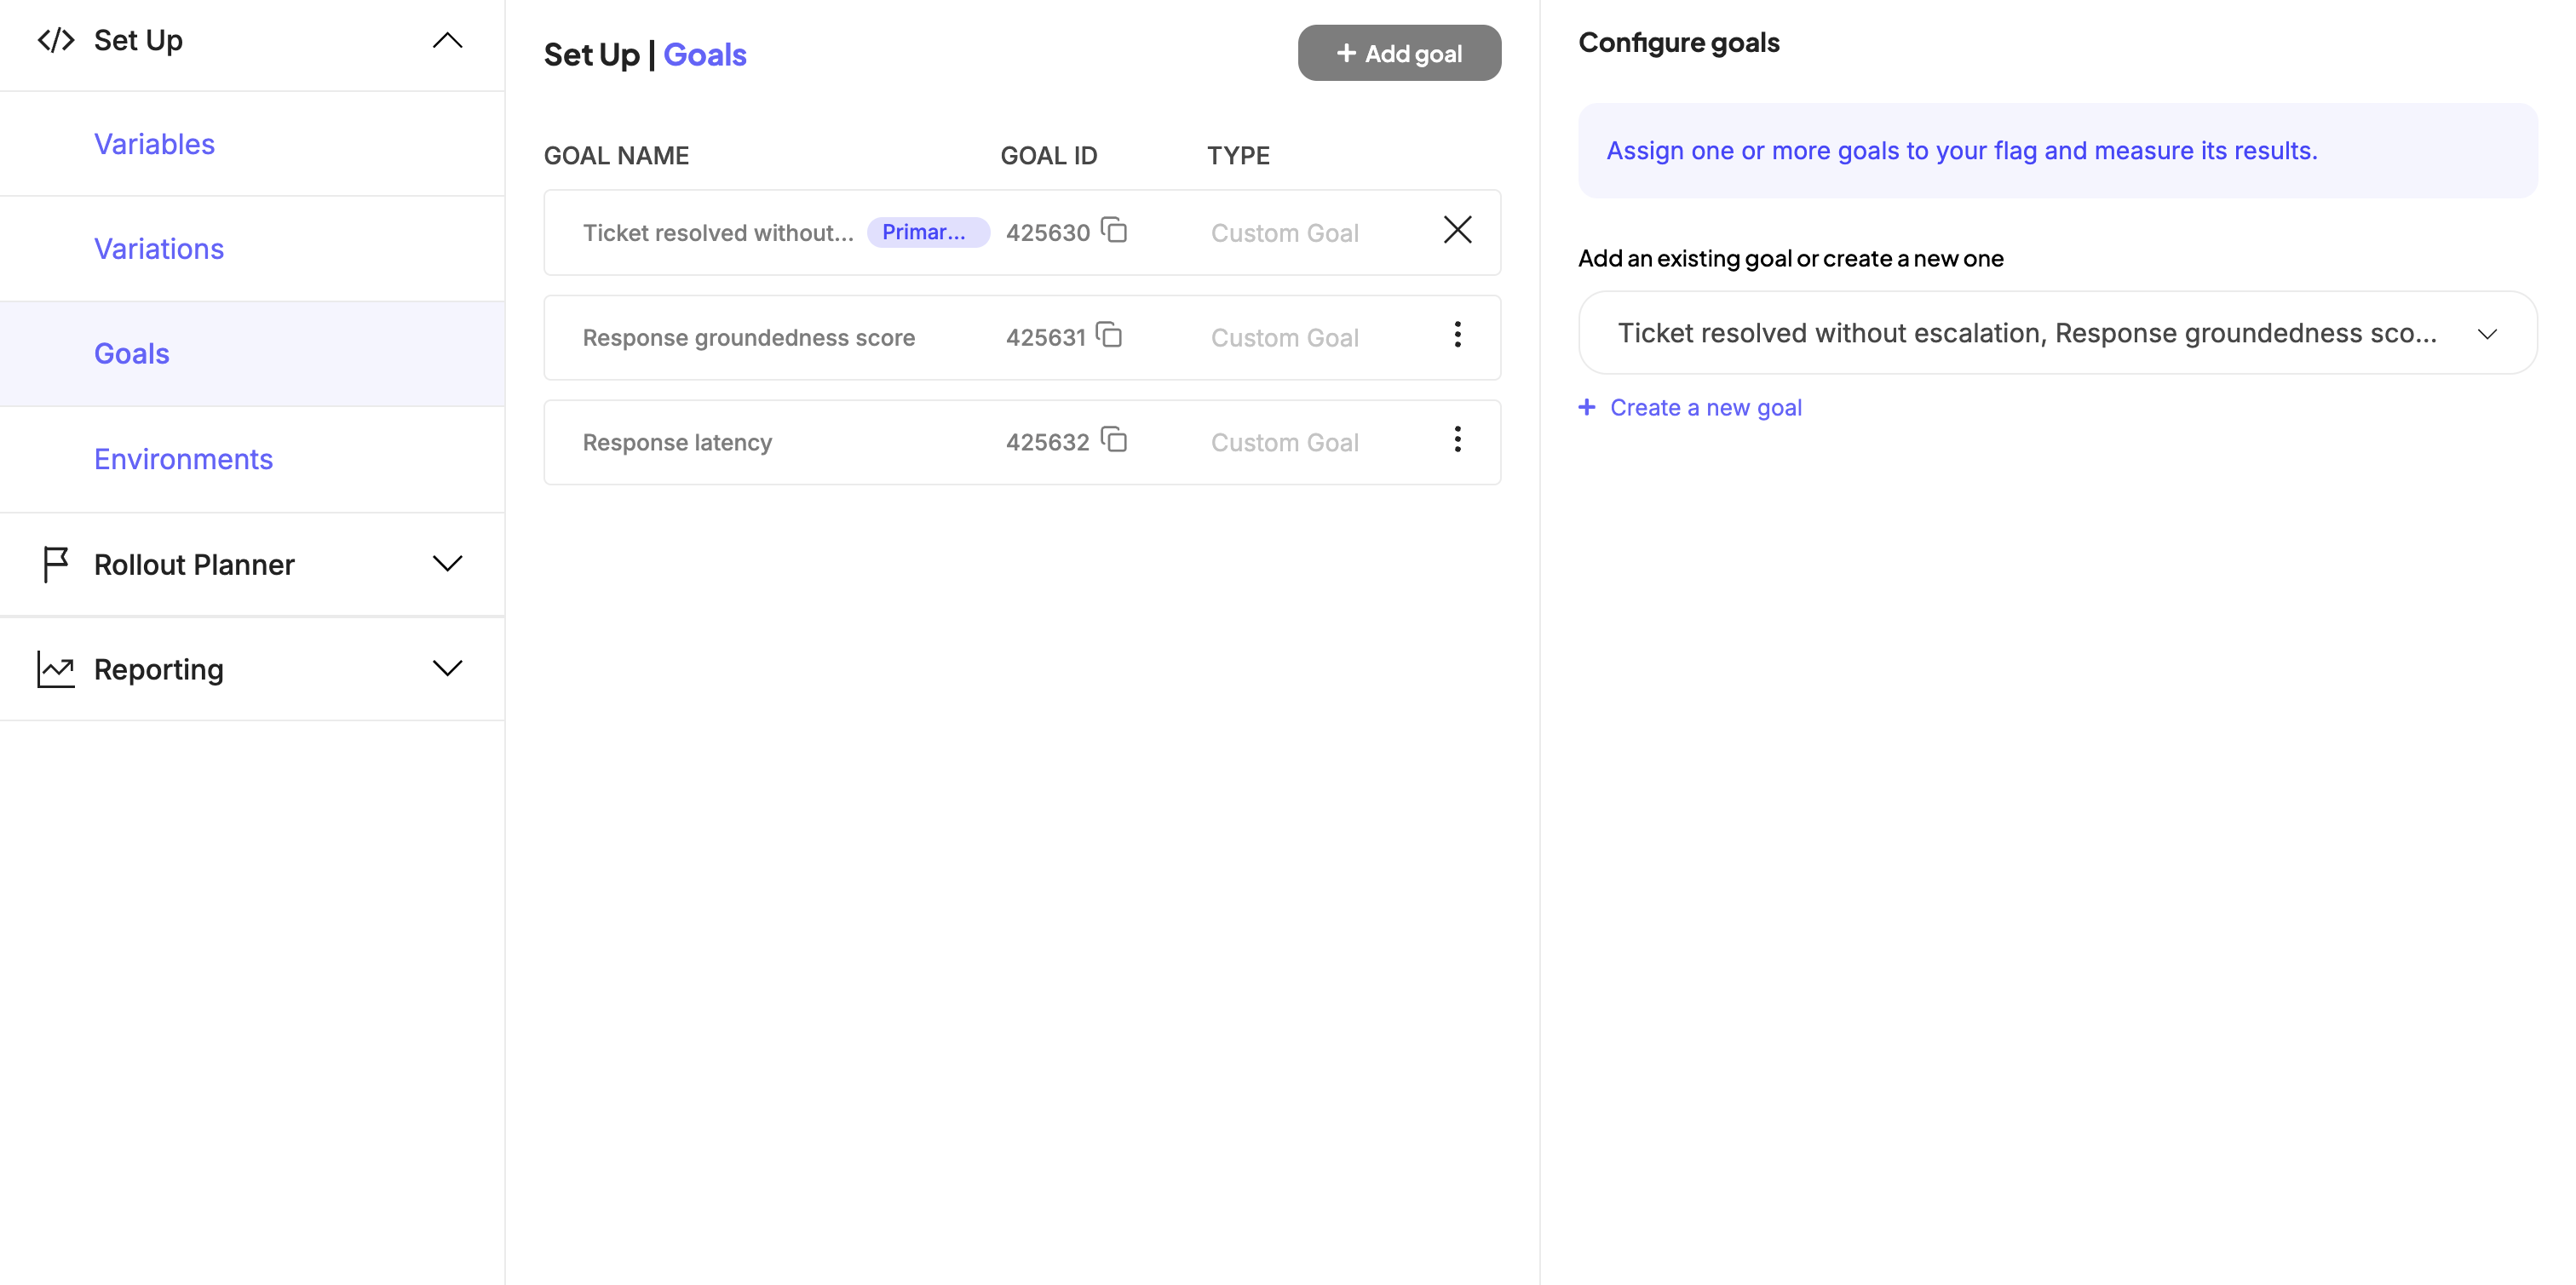
For more detail on goal types, including how to trigger a custom goal from your backend, see [Create a goal](/user-manual/assets/goals/create-a-goal#custom-goal).
### Roll out the experiment
Create an experiment rule that splits traffic between your prompt variations, then turn on the environment to start collecting data.
1. In the **Rollout Planner**, select the environment you want to target, for example **Production**.
2. Click **Add a rule** > **Experiment**.
3. Under **Variations to serve**, add each prompt variation and set its exposition percentage. For example, split traffic evenly between two variations at 50% each.
4. Set the rule's targeting to include the visitors you want to test, for example all visitors reaching the application.
5. Turn the environment's **ON/OFF** toggle to **ON**.
6. Click **Save**.
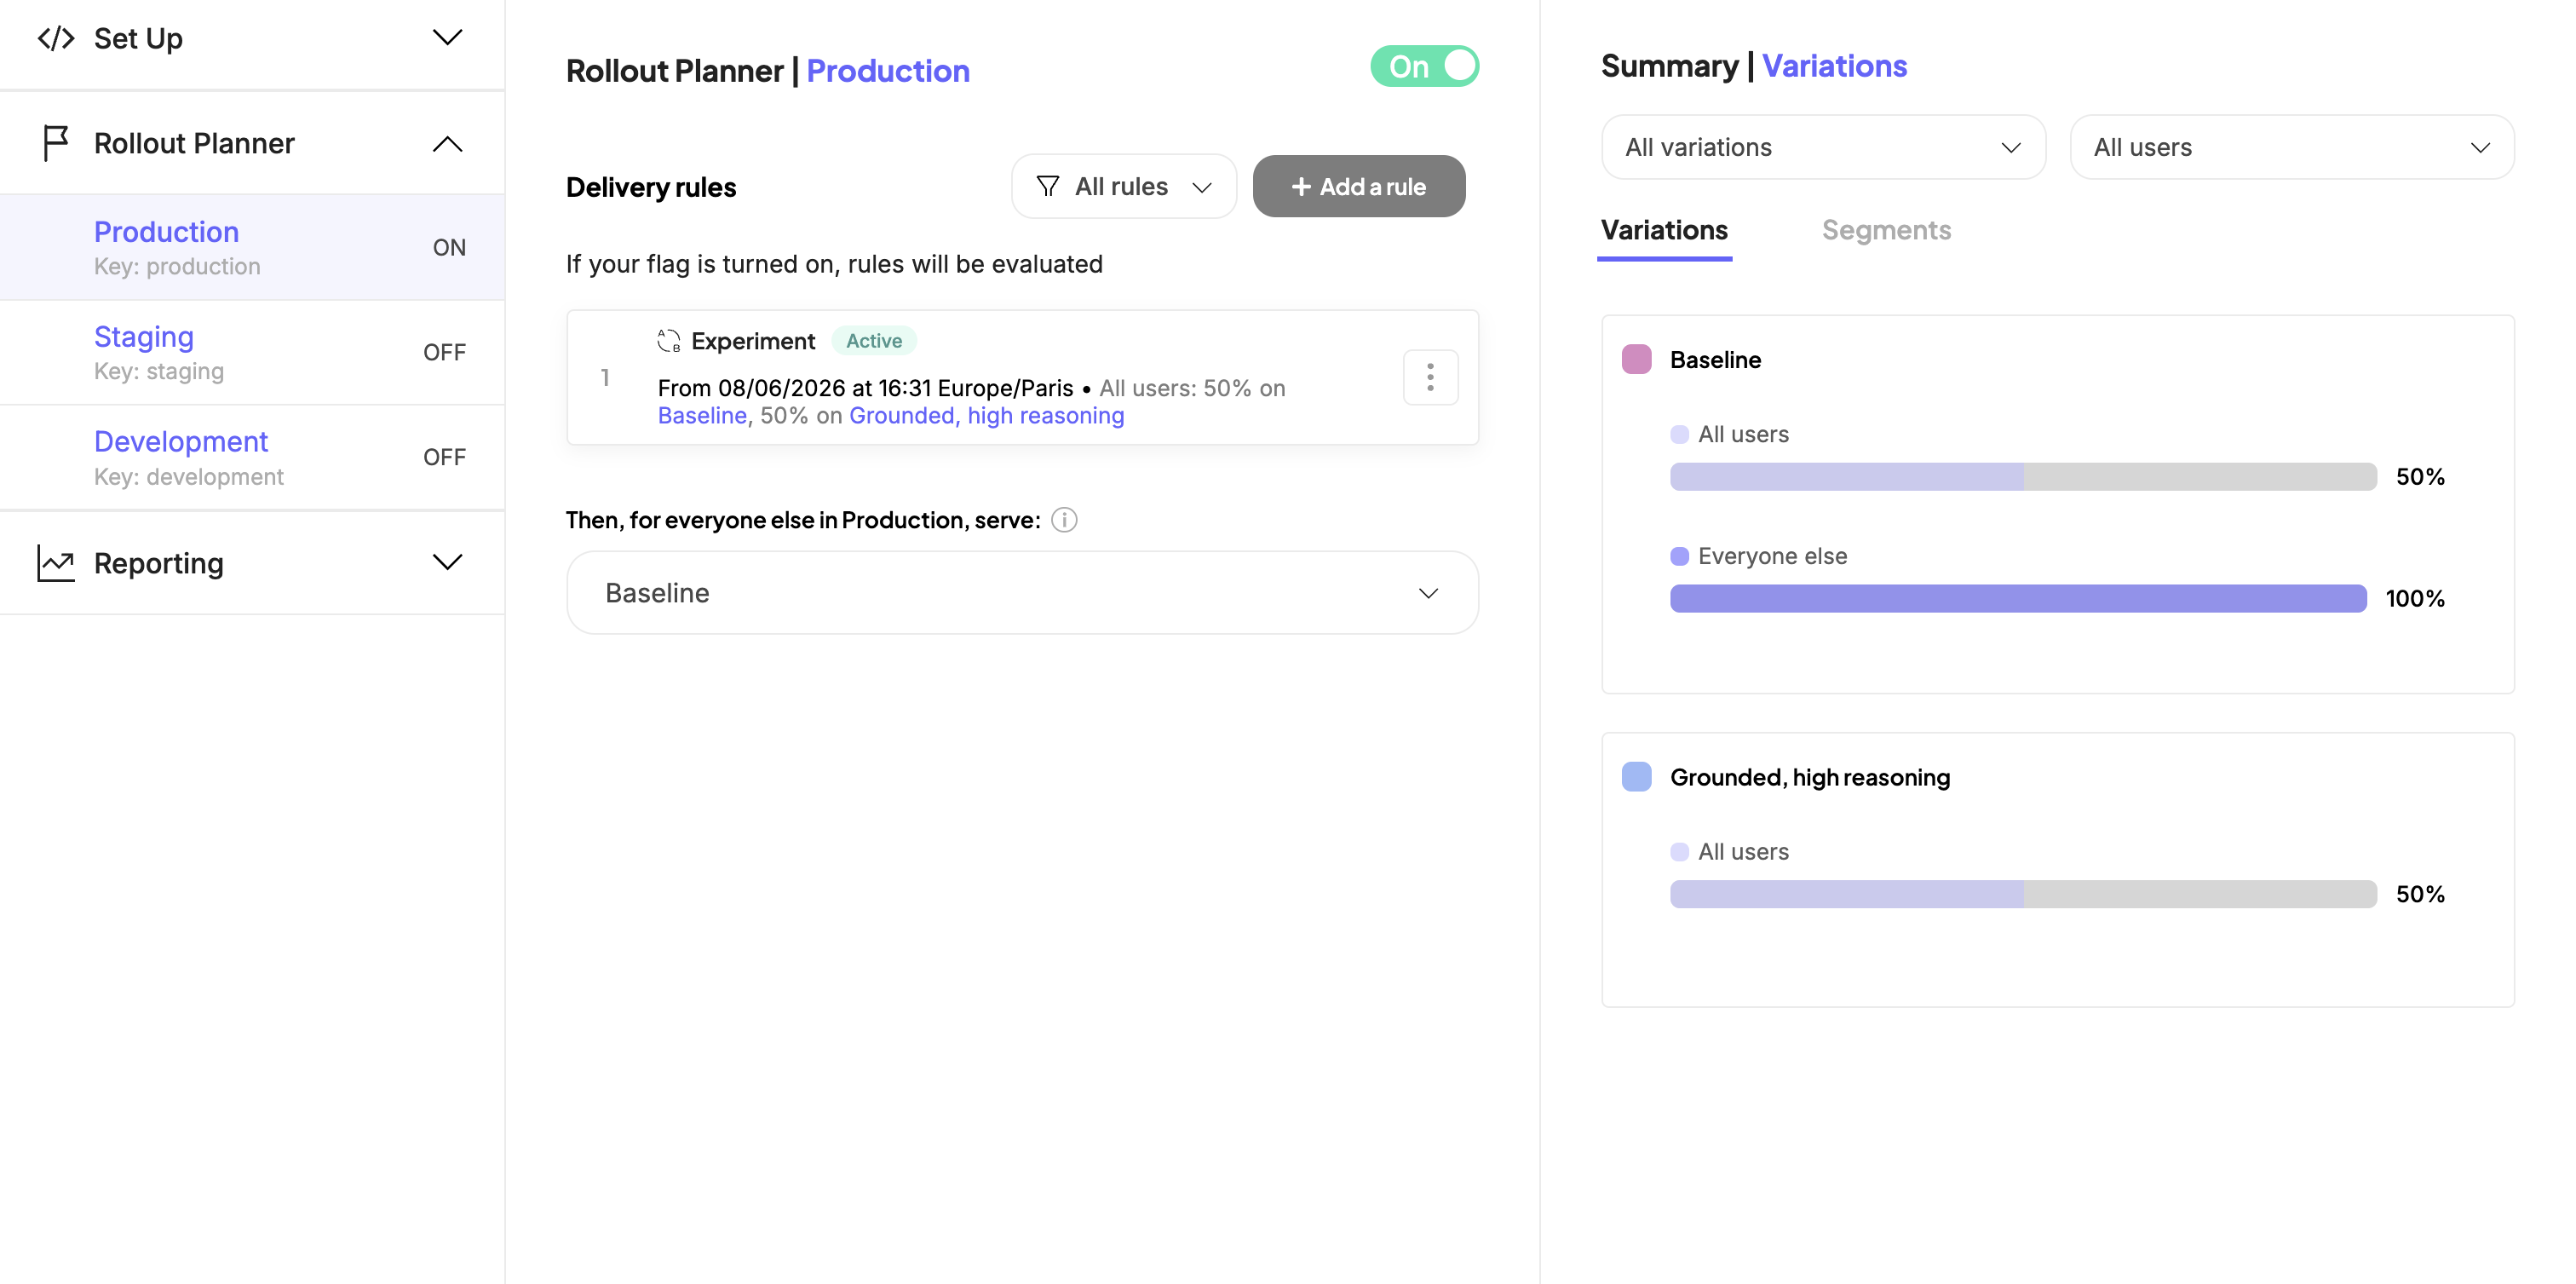
For more detail, see [Create feature experiments](/user-manual/experimentation/feature-experimentation/using-the-rollout-planner/optimizations-and-scheduling/create-feature-experiments).
Once you save the rule, Kameleoon starts assigning visitors to a variation and serving the corresponding prompt. To change a prompt or add a variation later, edit it directly in the Kameleoon platform. You don't need to redeploy your application to make these changes.
## Retrieve the prompt in your application
Install the Kameleoon Python SDK, then retrieve the visitor's assigned prompt and track a conversion when the visitor interacts with your LLM-powered feature. The same pattern applies to any [Kameleoon server-side SDK](../get-started/overview#server-side-sdks), including Node.js, Java, and Go.
1. Install the SDK as a dependency:
```bash theme={null}
pip install kameleoon-client-python
```
2. Initialize the client with your site code and credentials:
```python theme={null}
from kameleoon import KameleoonClient, KameleoonClientConfig, KameleoonClientFactory
SITE_CODE = "a8st4f59bj"
FEATURE_KEY = "llm_prompt_test"
GOAL_ID = 12345 # Replace with the ID of the goal you attached to the flag
configuration = KameleoonClientConfig(
client_id="your-client-id",
client_secret="your-client-secret",
)
kameleoon_client = KameleoonClientFactory.create(SITE_CODE, configuration)
await kameleoon_client.wait_init_async()
```
3. Retrieve the assigned prompt before you call your LLM, and track a conversion when the visitor interacts with the LLM-powered feature:
```python theme={null}
def get_prompt_for_visitor(visitor_code: str) -> str:
variation = kameleoon_client.get_variation(visitor_code, FEATURE_KEY)
return variation.variables["prompt_template"].value
def track_llm_interaction(visitor_code: str) -> None:
kameleoon_client.track_conversion(visitor_code, GOAL_ID)
```
Call `get_prompt_for_visitor()` with the visitor's `visitor_code` before you send a request to your LLM, and use the returned value as the prompt. Call `track_llm_interaction()` when the visitor interacts with the LLM-powered feature, such as submitting a question or receiving a response.
Use [`get_visitor_code()`](../../sdks/web-sdks/python-sdk#get_visitor_code) to assign a unique ID to each visitor, and [`set_legal_consent()`](../../sdks/web-sdks/python-sdk#set_legal_consent) if your application requires visitor consent before tracking data. For the full client initialization and configuration reference, see the [Python SDK developer guide](../../sdks/web-sdks/python-sdk#developer-guide).
## Monitor and iterate
Open the feature flag's results page to compare the conversion rate of each prompt variation against the goal you attached. Kameleoon tracks exposures and conversions automatically whenever your application calls `get_variation()` and `track_conversion()`, so you don't need any additional instrumentation.
For more detail, see [Analyze a feature flag's overall results](/user-manual/experiment-analytics/analyze-results/feature-flag-results/analyze-a-feature-flags-overall-results).
## Next steps
* Read the [Python SDK reference](../../sdks/web-sdks/python-sdk) for advanced options such as custom data, cross-device experimentation, and targeting conditions.
* Attach [precise segmentation criteria](../targeting-and-segmentation/native-segmentation) to target the experiment at a specific audience.
* Explore [feature variables](/user-manual/experimentation/feature-experimentation/configure-your-feature-flags/define-feature-variables) to variabilize other parts of your LLM-powered feature, such as model parameters or retrieval settings.